

| Amicus | |
| Manage Screen Layouts | |
| See Also Submit feedback on this topic | |
| Preferences > Manage Screen Layouts |
Glossary Item Box
Amicus allows you to edit and control the layout of your touch screens so that they can be configured to meet your business needs. For example, a front counter touch screen might have a completely different screen layout compared to a bar section screen. Amicus allows you to configure different screens to each till operating in your business.
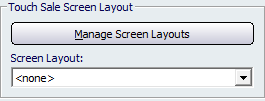
To manage your screen layout click on File from the Amicus Toolbar, followed by Preferences then This Register. On the Preferences for This Till screen click on the Sales tab and, in the Touch Screen Layout section, click on Manage Screen Layouts.
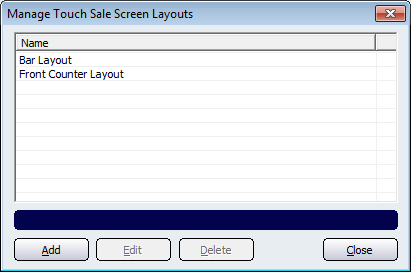
The Manage Touch Sale Screen Layouts dialogue will appear listing all the custom screen layouts that are available.

Figure : Touch Sale Screen Layout section on the Sales tab
Select Add to add a new screen Close to close the dialogue or select an existing then Edit to edit the selected or Delete to delete the selected.

Figure : Manage screen layouts dialogue
Add / Edit Screen
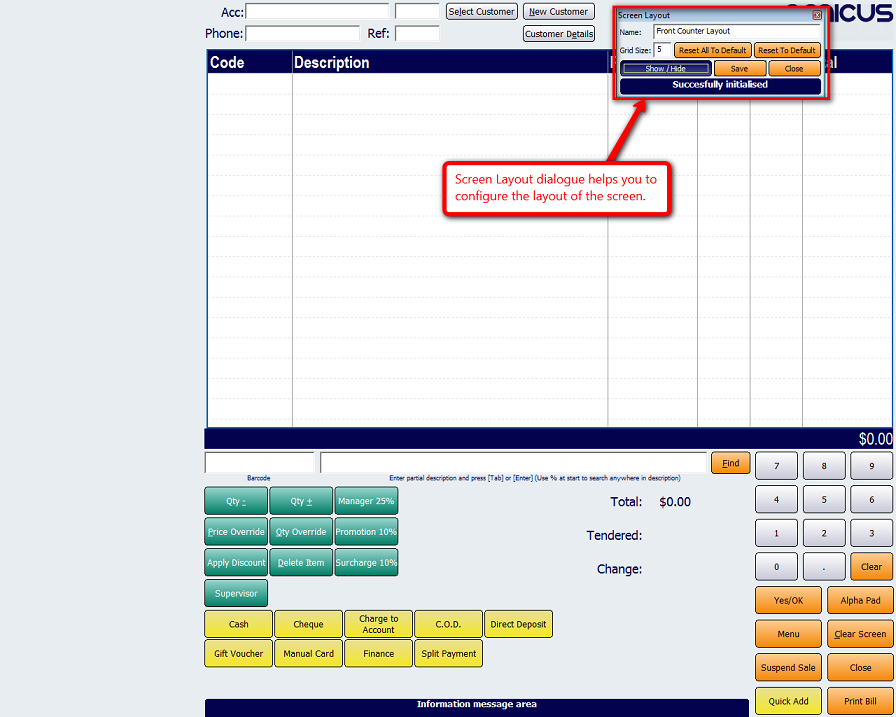
When you select either the Add or Edit buttons, the touch screen interface will be displayed. The screen contains each control element available on the sales screen and a control dialogue. Below is an image of the screen that appears after selecting either the Add or Edit buttons.

Screen Layout Dialogue
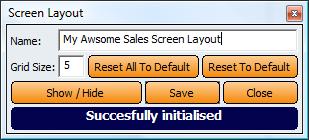
The Screen Layout dialogue contains buttons that assist the screen designer in designing the layout of the screen.

Figure : The Screen Layout dialogue
The options that are availible to you on the Screen Layout dialogue includes:
Name - This field is used to give a name to the layout being designed.
Grid Size - Sets the designers grid size.
Reset All To Defaults - Resets the screens controls to the NBS default.
Reset To Default - Resets the selected control to the NBS default.
Show / Hide -Uses to hide/show the selected controls .
Save - Saves the layout.
Close - Closes the layout designer.