


| Amicus | |
| Adding Image Files | |
| See Also Submit feedback on this topic | |
| Configuration and Maintenance > Managing Images > Adding Image Files |
Glossary Item Box
You can add image files to your Amicus database by clicking on the Add File button from the Manage Images screen. Once you do this the following screen will appear.
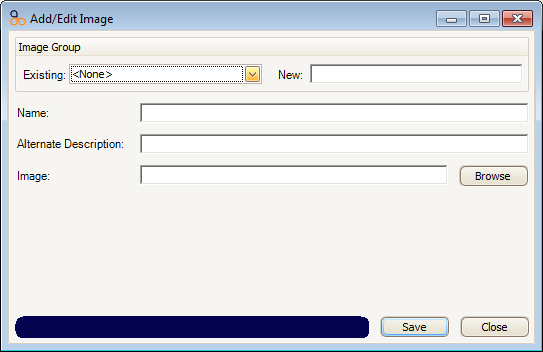
From this screen you can add images onto your Amicus database. To add an image click on the Browse button and locate the image you want to add, once you have found the image file select it and then click on the open button (if this is done correctly, the Image field will be populated with the image location and name).
Once you have done this you can provide a name for the image by entering it into the Name field. If you would also like to add an alternate description for the image then click in the Alternate Description field and enter your description.
You can also add the image to an image group. To do this you can select from an existing group that has been previously created by clicking on the Image Group dropdown box (note: If you have not created any image groups then the dropdown list will be empty, a guide on adding image groups can be found here) and selecting which group you would like the image to be grouped in. Alternatively you can create a new image group by clicking on the New field and entering the new group name.
To save the image into your Amicus database click on the Save button.
If you wish to exit the Add/Edit Image screen click on the Close button.
See Also
Amicus Administration User GuideManaging Images
Adding Image Files in Folders