


| Amicus | |
| Grouping Images | |
| See Also Submit feedback on this topic | |
| Configuration and Maintenance > Managing Images > Grouping Images |
Glossary Item Box
Amicus allows you to group images into any groups that you specify. The reason you would group images is so that you can more easily manage multiple images at the same time. To group your image click on the Group Images button located on the Manage Images screen. Once you have done this the following screen will appear.
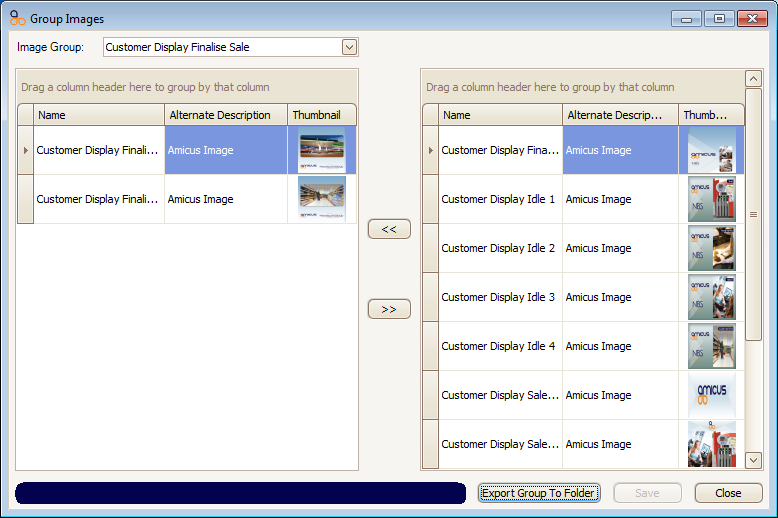
The left segment of this screen shows you the image files that are located on the selected image group. To change the image group being shown click on the Image Group dropdown box and select from the image groups that are listed. Once you do this the left hand side of this screen will populate with the images included in the selected group.
To add an image to the selected group, select an image from the list of images on the right hand side of the screen (a selected image will turn blue when it is selected) and then click on the << button. This will then move the image from the list of images on the right hand side of the screen into the image group which is on the left half of the screen.
Alternatively, if you want to remove an image from the selected image group, select the image from the left hand side of the screen and then click on the >> button and this will transfer the image out of the group (note: this does not delete the image, it is just being moved out of the group).
The Export Group To Folder button allows you to take the images from a selected group and place them into a folder. To do this click on the Export Group to Folder button and then either select the folder in which the files will go into or create a new folder and place the images into them.
To save any of the changes that you have made click on the Save button.
To exit the Group Images screen, click on the Close button.
See Also
Amicus Administration User GuideManaging Images
Adding Image Files
Adding Image Files in Folders