


| Amicus | |
| Addresses Tab | |
| See Also Submit feedback on this topic | |
| Key Areas > Customers > Customer Maintenance > Add and Edit Customers > Addresses Tab |
Glossary Item Box

The Address tab on the Add/Edit Customers tab is used to control the addresses of the customers in your database. NBS Amicus will use the content of these fields when printing delivery instructions on sales documentation. Once you are on this screen, click on the Find button to open a list of customers that exist in your database. Doing this will bring up the Select a Customer screen (show below). Select the customers record you want to edit and then click on the Select button or if you want to leave the screen click on the Close button.
Alternatively, you can select the customers record from the Details Tab and then click on the Addresses tab and any changes you make will apply to the selected customers record.

Once the customers record has been selected you can then add an address to the record by clicking on the Add Address button which will then bring up the following screen.
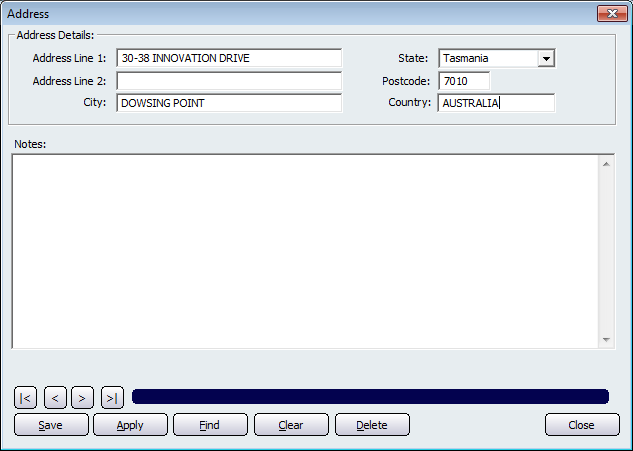
Add the address information for the selected customer and click in the Notes text field to enter any additional information for that address and then click on the Save button. The Address screen will then automatically close and bring you back to the Addresses tab with the address information you added.
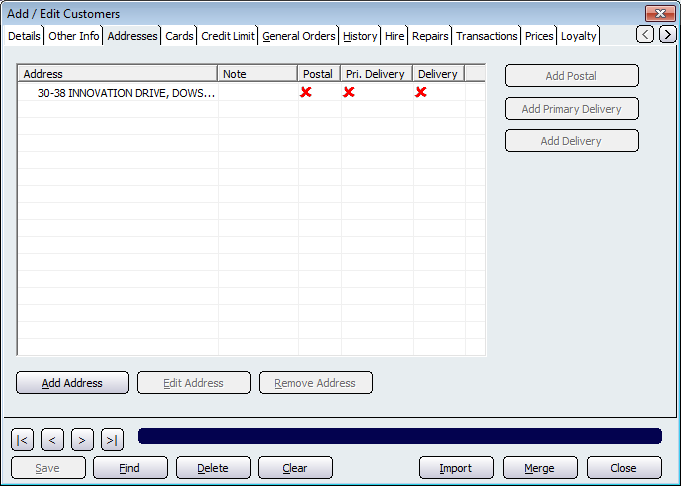
To change the address information, click on the address and then click on Edit Address. The same screen as when you click Add Address will open which will allow you to change the address information. To remove an address, highlight the address and then click on the Remove Address button, a warning will pop up confirming that you want to delete the address.
To make the address a postal address, primary delivery address, and/or another delivery address click on the Add Postal, Add Primary Delivery, and/or Add Delivery buttons. The red cross will then change to a green tick when you select what type function the address serves.
Buttons that perform actions on the displayed dialogue includes; < and >, allow you to respectively scroll forwards and backwards through the items on the screen one record at a time. To quickly find the first or last items record, click either the |< or >| key respectively. These buttons appear at the bottom of all Add/Edit dialog tabs providing access to all products, customers, suppliers, etc. ',event)">Navigational Arrows, Save, Find, Delete, Clear, Import, Merge, Close.
See Also
Amicus Administration User GuideDetails Tab