Manage Strip Printers
From Amicus
| Amicus | |
| Manage Strip Printers | |
| See Also Submit feedback on this topic | |
| Configuration and Maintenance > Strip Printer Queue > Manage Strip Printers |
Glossary Item Box
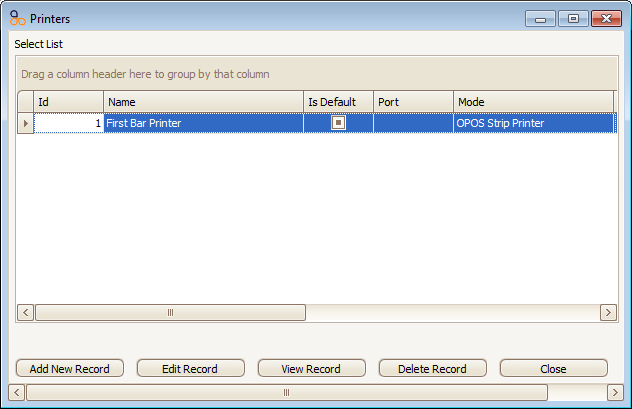
The Printers dialog allows you to setup and configure individual strip printer settings. To access the Printers dialog click on File from the Amicus Toolbar, select Maintenance and click on Strip Printer Queue and then select Manage Strip Printers. Doing this will open up the following screen.
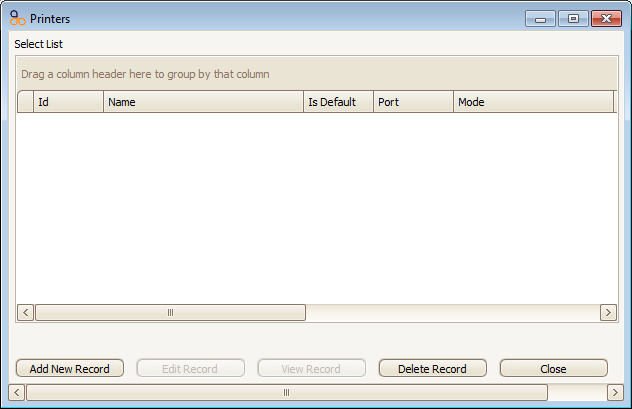
Figure : Printers dialog
Controls
Add New Record—Displays a Printer dialog.
Edit Record—Displays a Printer dialog. Details of the selected printer can be changed.
View Record—Displays a Dynamic View Record dialog, listing details of the selected printer.
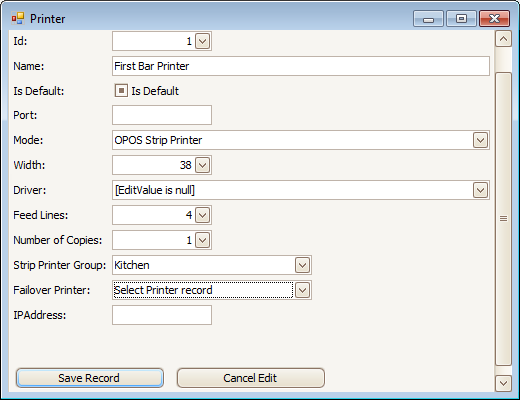
Figure : Add/Edit Printer dialog
Details
ID—The printers identification number.
Name—Enter a name easy identify the printer, i.e. Bar Left Printer, Kitchen orders printer, kitchen plating printer, customer payments printer A, etc..
Is Default—Select if this is the default printer to print on.
Port—Select the port address the printer is attached to.
Mode—Select the printer type.
Width—Select the printable width of the docket.
Driver—Select the driver used by the printer.
Feed Lines—Enter the number of blank line feeds between separate dockets
Number of Copies—Enter the number of copies to be printed.
Strip Printer Group—if the printer is part of a group, select the Strip Printer Group.
Failover Printer— If the printer was to fail then the printer selected within this field would take over.
IP Address — This is the IP address of the selected printer.
Click on the Save Record button to save the printer settings that have been configured. Click on Cancel Edit to exit the screen without saving any changes. If the record is saved then the following screen will appear.