


| Amicus | |
| Add and Edit Departments | |
| See Also Submit feedback on this topic | |
| Key Areas > Stock Control And Products > Product Maintenance > Add and Edit Products > Add and Edit Departments |
Glossary Item Box
When you click the Add button next to the Department field on the Add/Edit Products dialog the Add/Edit Department dialog will appear (as shown below).
Add and Edit Department
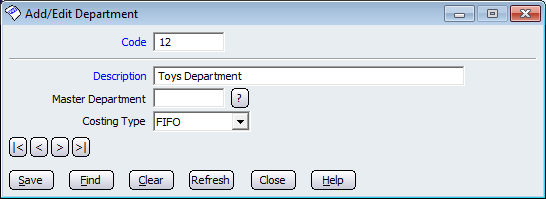
Figure : The Add/Edit Department dialogue
Code - The unique ID of the department or sub department. The field header is blue which indicates that this field must be populated before the record can be saved.
Description of the department, e.g. Menswear, Shoes etc. This field must be filled in otherwise you will not be able to save the record.
Search - The "?" button opens the Select Department dial.
Master Department - Allows for this department to be a sub department of another. The Select Department screen (as shown below) will be displayed.
Costing Type - indicated the complex accounting method used for this individual department if different from the default specified in system wide settings.
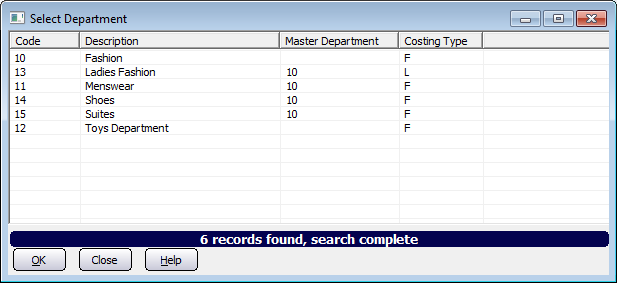
Figure : Select a parent department for the current record
Record controls
Buttons to perform actions on the Add/Edit Department dialog includes; < and >, allow you to respectively scroll forwards and backwards through the items on the screen one record at a time. To quickly find the first or last items record, click either the |< or >| key respectively. These buttons appear at the bottom of all Add/Edit dialog tabs providing access to all products, customers, suppliers, etc. ',event)">Navigational Arrows, Save, Find, Delete, Clear, Refresh, Close and Help.
See Also
Amicus Administration User GuideAdd and Edit Products