


| Amicus | |
| Add and Edit Schedule | |
| See Also Submit feedback on this topic | |
| Modules & Other Devices > Modules > Bookings Module > Add and Edit Schedule |
Glossary Item Box
The Add/Edit Schedule screen is used to manage and control the schedules for each of your resources that are available to be booked by you customers. To access the Add/Edit Schedule screen click on Booking Module from the Amicus Toolbar and then click on Add/Edit Schedule. Doing this will open up the following screen.
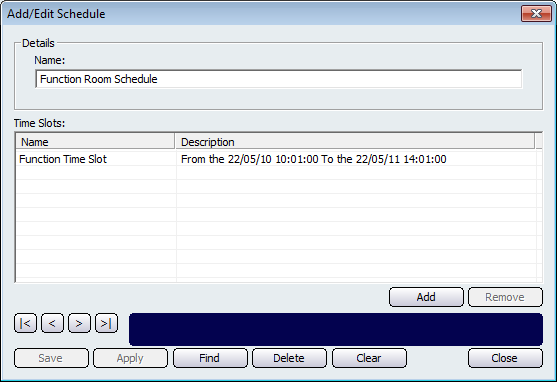
The first step to do is to give the schedule a name by clicking on the Name field. The Time Slots section of this screen is used to control the time slots that are applied to the schedule. Click on the Add button to apply a time slot to the schedule. Doing this will bring up the Add Time Slot screen.
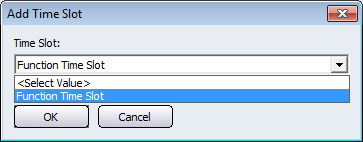
Note that this list will be empty if you have not created any time slots within your database. Refer to the Add/Edit Time Slot page for more information. Select the time slot from the dropdown list and then click on the Ok button. This will then populate the Add/Edit Schedule screen with the time slot name and its description. Click on the Remove button if you wish to remove a time slot from the schedule.
Other buttons that perform actions on the Add/Edit Schedule screen include: < and >, allow you to respectively scroll forwards and backwards through the items on the screen one record at a time. To quickly find the first or last items record, click either the |< or >| key respectively. These buttons appear at the bottom of all Add/Edit dialog tabs providing access to all products, customers, suppliers, etc. ',event)">Navigational Arrows, Save, Apply, Find, Delete, Clear, and Close.