Add and Edit Resource Type
From Amicus
| Amicus | |
| Add and Edit Resource Type | |
| See Also Submit feedback on this topic | |
| Modules & Other Devices > Modules > Bookings Module > Add and Edit Resource Type |
Glossary Item Box
The Add/Edit Resource Type screen is used to add details to a resource such as its capacity and availability. This information is then used to control the bookings of the resource. To access the Add/Edit Resource Type screen click on Booking Module from the Amicus Toolbar and then click on Add/Edit Resource Type. Doing this will bring up the following screen.
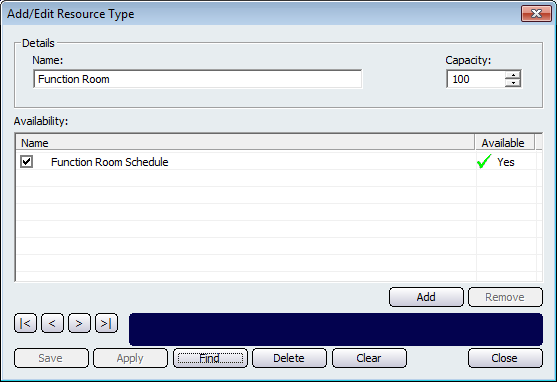
Click in the Name field to give the resource type a name that is relevant to you. The Capacity field is used to determine that maximum amount of people the resource can accommodate. This is important because if the booking has more than the capacity then you will be unable to complete the booking.
The Availability section of this screen is used to show when the resource is available to be booked. The availability is based on the Add/Edit Schedule screen which uses time slots to determine when the selected resource is available.
Clicking on the Add button will open up the Add Schedule screen.
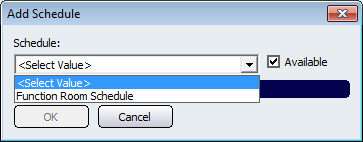
Select from the list of Schedules that exist in your database. Note: This list will be empty if no schedules have been created. Refer to the Add/Edit Schedule screen in order to add a schedule to your database. Click on the Available checkbox in order to make the selected schedule available for the resource. Once you have added a schedule click on the Ok button and this will populate the Add/Edit Resource Type screen with the schedule. The Availible column will show a green tick when the schedule is available. Unclick the Name tick box if you want the schedule to no longer be available. Doing this will change the green tick into a red cross indicating that it is no longer available. Clicking on the Remove button will remove the schedule from the Add/Edit Resource Type screen.
Other buttons that perform actions on this screen are: < and >, allow you to respectively scroll forwards and backwards through the items on the screen one record at a time. To quickly find the first or last items record, click either the |< or >| key respectively. These buttons appear at the bottom of all Add/Edit dialog tabs providing access to all products, customers, suppliers, etc. ',event)">Navigational Arrows, Save, Apply, Find, Delete, Clear, and Close.