


| Amicus | |
| Removing the Areas and Tables | |
| See Also Submit feedback on this topic | |
| Modules & Other Devices > Modules > Hospitality Module > Meal Order Table Service > Areas > Removing the Areas and Tables |
Glossary Item Box
If an area or table is no longer required it can be removed by using the Add/Edit Areas screen.
Removing Areas
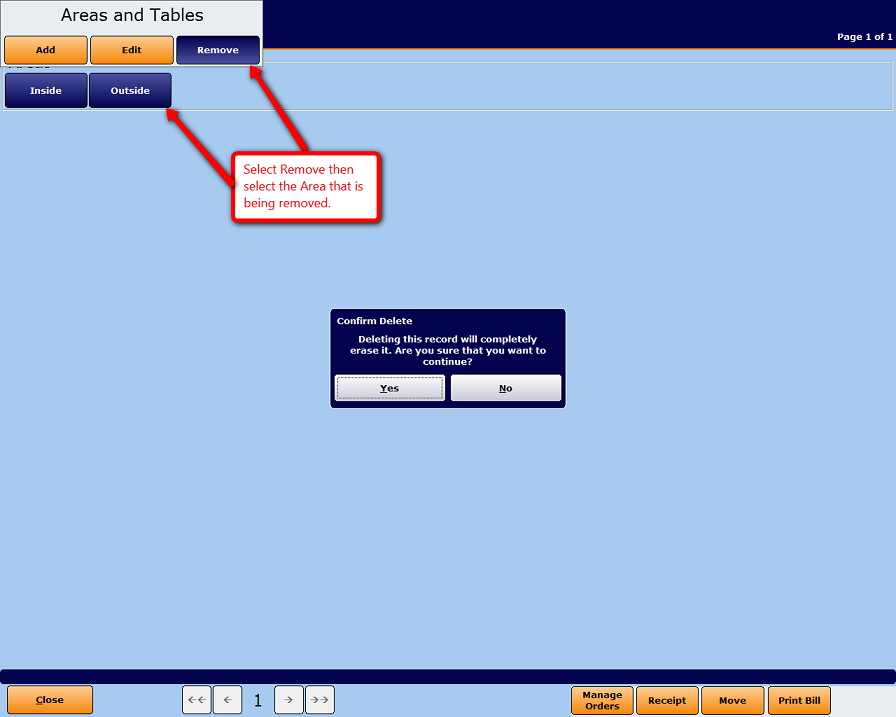
To remove an Area you must first be on the screen that contains all of your areas. Once you are on the screen select the Remove button (the button will change to a blue colour) and then select the Area that you would like to remove. Note: All the areas and tables that are contained within the area being deleted will also be deleted. A Confirm Delete dialog will be displayed asking you to confirm the deletion. Select Yes to remove the area or click on No to exit the Confirm Delete dialogue. Below is a screen shot demonstrating how to remove an Area.
Removing Tables
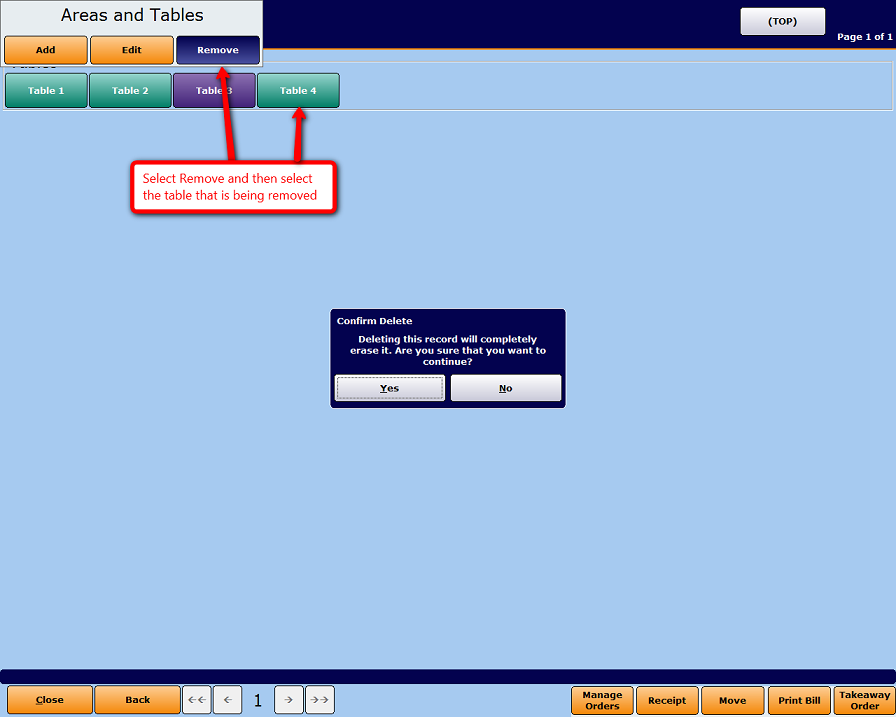
To remove a Table make sure that you are on the tables sections of the Areas and Tables screen. Select the Remove button and then select the table that you would like to delete. The Confirm Delete dialogue will pop up confirming the deletion. Click on the Yes button to delete the table or click on the No button to exit the Confirm Delete dialogue. Below is a screen shot demonstrating how to delete a Table.
See Also
Meal Order Table Service Module Configuration GuideAreas
Add Areas and Tables
Editing Areas and Tables