Modifying Report Templates
Modifying Report Templates
You can modify the initial report templates in any way you like (just be careful not to change the field names), however there is one thing that you that you need to be aware of before you start changing the templates: named cell range.
Named cell range is an Excel’s feature that allows a range of cell to be given a descriptive name. VLF.NET makes use of this particular feature to identify which part of the Excel worksheet should be repeated for each record (when you have a tabular report, you wouldn’t want to repeat the report title and column headers for each record).
Let’s use the Resources business object from the demo framework to illustrate this concept.
The following explanation is based on Office Excel 2003.
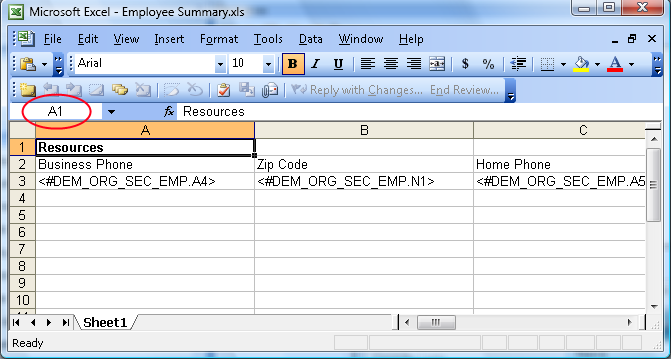
1. Get VLF.NET to create a new template for you.

It’s quite clear that we would want row number 3 to be repeated for each record, but not row number 1 and 2.
When this template is used in generating the actual report, VLF.NET understands that you want only to repeat row 3 because the a special name has been assigned to row 3.
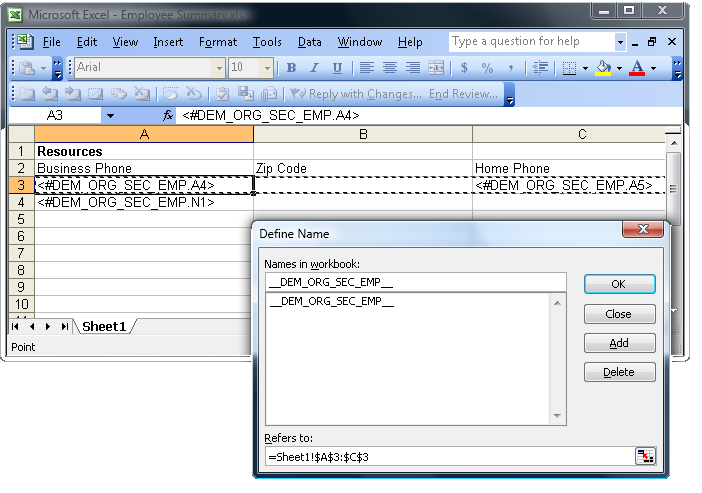
1. To see that, click the area marked in the screenshot below:
After you click it, it will drop down and display the named range defined for this worksheet.
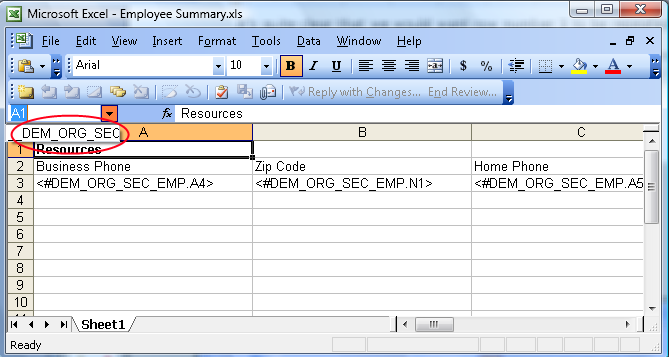
This template contains only one named range which is __DEM_ORG_SEC_EMP__ (you can only see __DEM_ORG_SEC as it’s truncated). The number of named range defined in a sheet corresponds to the number of business objects used in the template.
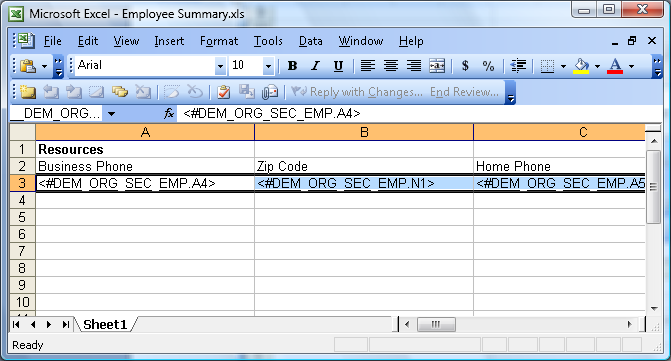
If you click on __DEM_ORG_SEC_EMP__ in that dropdown, Excel will show to you the cell range associated with that name.
It’s important to you to understand this concept when you start modifying your templates. There will be times when you would need to adjust the named range when you insert new rows.
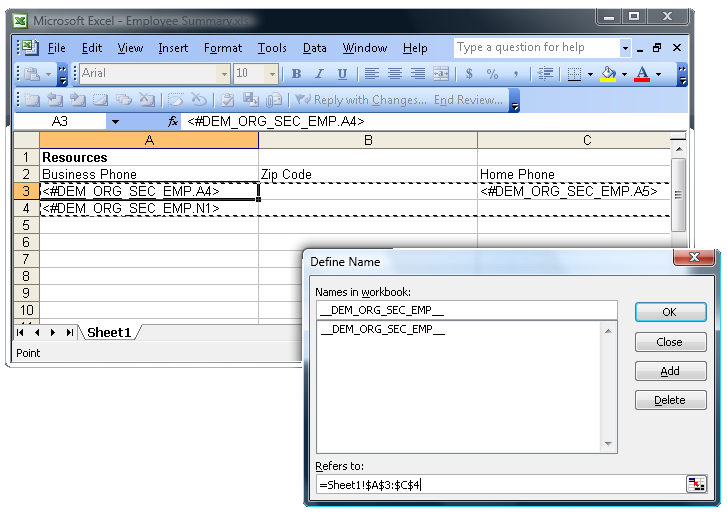
Let’s say that you want to split the one row into 2 rows (so that each record will generate 2 rows). The second row will contain the Zip Code only. To do this, move <#DEM_ORG_SEC_EMP.N1> to cell A4.
You now need to extend the defined range to cover row 4 as well.
2. To do this, open the Insert menu, and then choose Name, and then Define.
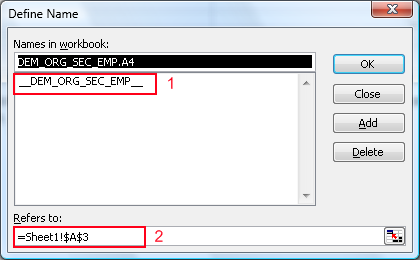
3. Click on the item on the list, and then click on the range text box. Excel will indicate the current range associated with __DEM_ORG_SEC_EM__.
4. Extend the range either by changing row 3 to 4 or by pressing shift and then arrow down key. Make sure you press the OK button afterwards.