Step 1 Create the Mini Filter Interface
Step 1. Create the Mini Filter Interface
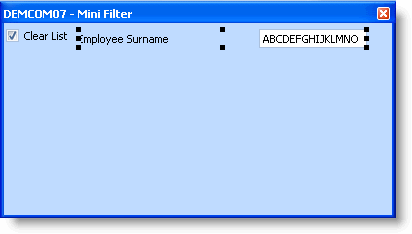
In this step you will create a reusable part that will become a mini filter for the Employees business object.
1. Start the Visual LANSA editor.
2. Create a reusable part. Specify iiiCOM07 as the name of your filter and Employee Mini Filter as the description. (iii are your initials. If you are using an unlicensed or trial version of Visual LANSA, you must always use the three characters DEM to replace iii).
You need to ensure that all properties are displayed:
3. Select the Settings option in the Options menu.
4. Click on Details and make sure the Show Advanced Features option is selected.
5. Click on the Details tab of the component.
6. Click on the Ancestor property and click the prompt button:
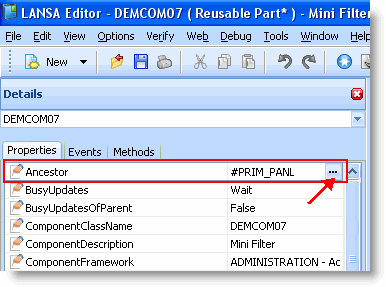
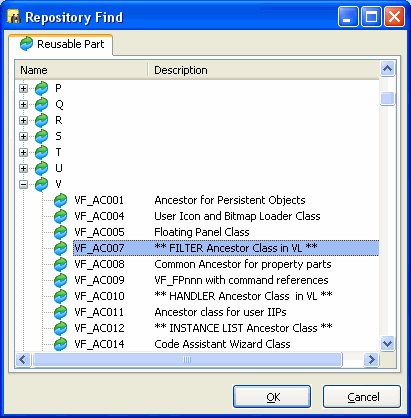
7. Select the component #VF_AC007. It is the ancestor component for filters from which your mini filter will inherit properties, events and methods.
8. Click on the OK button.
9. Click on the Favorites tab and select the Common Controls tab. (If you are using an earlier version of Visual LANSA than 11 SP 5, locate the controls in the Primitives group under System Information in the Repository tab.)
10. Drag the Panel control to the Design view and drop it into the upper left part of the reusable part.
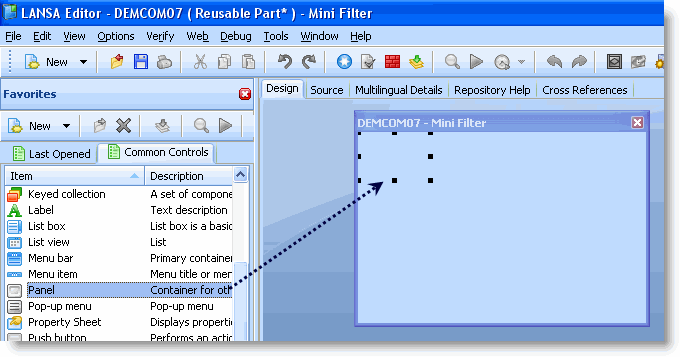
The panel will contain the contents of your mini filter. At run time you will tell the filter which panel contains the contents to be displayed in the mini filter area. Therefore, you could have multiple mini filter panels and display the appropriate one at run time.
11. Click on the Details tab with the panel selected.
12. Set the panel properties:
|
13. Display the Favorites tab and the Common Controls tab on it.
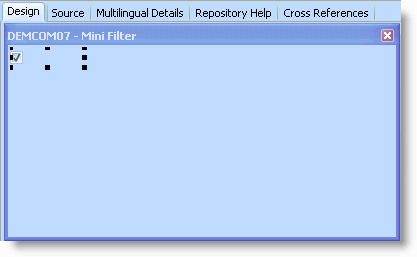
14. Drag a check box control to the upper left corner of the panel.
You must place all your objects in the upper left portion of the panel. The maximum height of your objects on the panel is restricted to the height of the tool bar in the Visual LANSA Framework Application which is 25 pixels. Therefore, if you add the value in the Top property of your component to the value in the Height property of your component, the sum should not exceed 25.
The check box will be used by the end-user to optionally clear the instance list when using the filter.
15. In the Details tab, set the default properties for the check box:
|
16. Click on the Repository tab.
17. Locate the PSLMST file and expand it.
18. Drag the SURNAME field to the right of the check box on the panel.
19. Click on the Details tab and set the properties of the SURNAME field:
|
20. Save your mini filter.