Connecting to Oracle to Define a Transformation Map
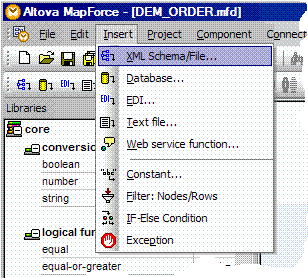
While defining a Transformation Map using the mapping tool, you will select the option from the menu (or use the corresponding toolbar button) to insert a database component.
The dialogs you have to complete depend on the type of database connection you insert and on choices you have made in previous sessions in the mapping tool. The following steps describe some of the most common and important dialogs and choices: The actual windows you will see and have to complete in order to establish your database connection will vary according to the type of database, driver, previous database selections and other factors. What follows is an example sequence of windows for establishing a new ODBC connection to an Oracle database running on your network.
1. On the first panel of the , choose Oracle as the database type and click .
(If the is not shown, click the button to display it)
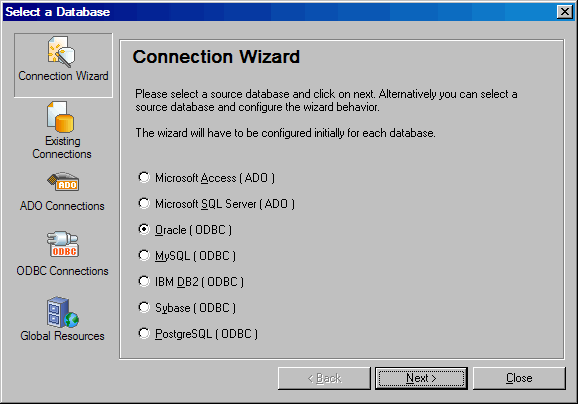
Note: These examples will use the ORACLE ODBC driver installed with the Oracle Instant Client as described in Installing and Configuring Oracle Client Software.
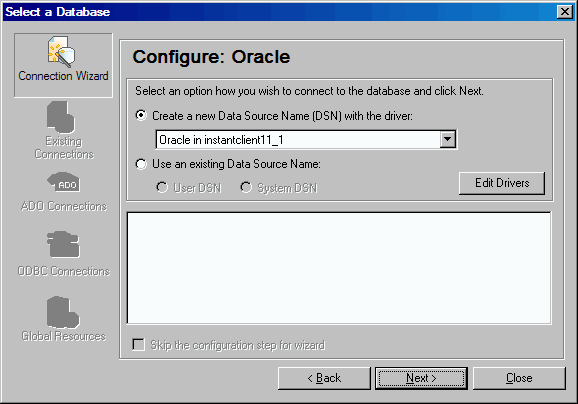
2. When prompted to , you can do either of the following:
- If you have already created a Data Source Name (DSN) for your Oracle database, then you can click and select the DSN from those shown.
- If you have not yet created a Data Source Name (DSN) for your Oracle database, then you should click and then select the Oracle ODBC driver from the drop-down list.
The drop-down list may show the driver, but we recommend using the driver installed with the Oracle client software - its name will vary according to the installation path. (The driver still requires part or all of the Oracle client software to be present on the client computer, so there seems little to be gained by using this driver.)
If the Oracle ODBC driver is not shown in the drop-down list, then click the button to add it to the list of drivers that the mapping tool will associate with the Oracle database choice. (When you have done this, you must click the button to return to the window.)
(If the Oracle ODBC driver does not appear in the list of all available drivers, then you may not have run the ODBC install script (odbc_install.exe) as part of the installation of the "ODBC" package of the Oracle Instant Client)
This example assumes that you are creating a new Data Source Name (DSN).
3. The Oracle ODBC Driver Configuration window prompts for details for the new Data Source Name (DSN). Complete the details as described below:
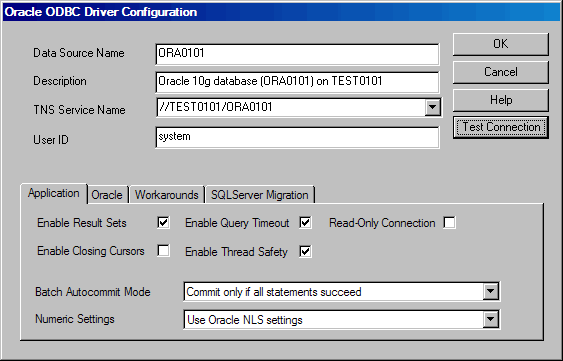
- The first two entry fields ( and ) provide a name and description for the Data Source Name (DSN). Type a name and description that are appropriate to identify the DSN.
- In the TNS Service Name entry field you can enter either a TNS Service Name (defined in the TNSNAMES.ORA file) or the SQL Connect URL required to identify the server and database to which you wish to connect. The example shows the SQL Connect URL form where TEST0101 is the name of the server hosting the database and ORA0101 is the database/service name. For more information and references refer to TNS Service Names.
- Type the User ID that you will use to connect to your server and database.
- Review and change (if necessary) the options in the tabs at the bottom according to your environment, your database and the requirements of the application.
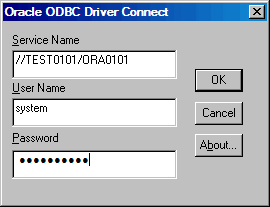
You can click to verify that the connection can be established with the details you have entered. When complete, click to continue. If prompted for a password, type the password associated with the user id that you will use to connect to your server and database.
4. When your connection has been successfully established, the mapping tool allows you to choose the particular tables you wish to use in your transformation map:
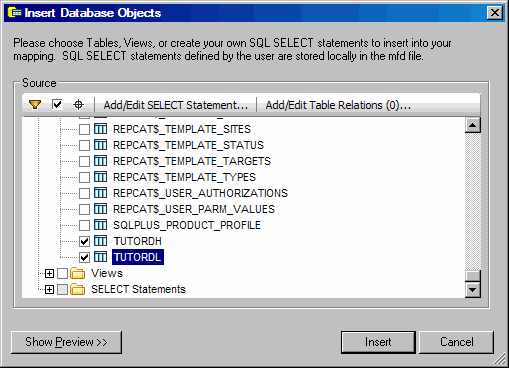
Select the database tables you wish to use and click OK. (If your database tables are not in the schema initially shown, click the arrow next to the schema name and select the required schema from the drop-down list.) A database component representing the selected tables is inserted in the workspace for the map.