Create a Database for a New LANSA Composer installation
Note: If you are upgrading or repairing an existing installation of LANSA Composer, the upgrade or repair will use the database that was specified when the installation was initially created. You do not need to create a new database, so you may skip this step.
On Windows servers, you will need to have installed and configured one of the database management systems currently supported for LANSA software, for example, a supported version of MS SQL Server, Oracle or Sybase. Refer to the Supported Platforms document on the LANSA web site for details of current supported database management systems.
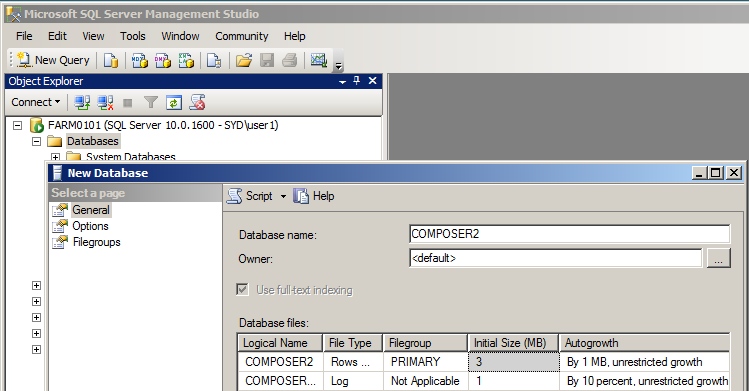
When installing a fresh copy of LANSA Composer you will need to create a new, empty database to hold the LANSA Composer database tables, using the supported database management system of your choice. The LANSA Composer installation will create the necessary database tables, but you must create the database that will hold them. You should add the new LANSA Composer database to your backup procedures.
Suggested database name: COMPOSER, although you can use your own choice of database name.
COMPOSER is the database name used for the database set up example during the installation in the Setup the Local Database step.
Note: When creating a Sybase database (including SQLAnywhere 10 and 11), you must select the Ignore trailing blanks in string comparisons option. This translates to "Blank Padding" = ON in the "Extended Information" page in the database properties.
Note: This database is for LANSA Composer's own database tables that hold the definitions of the business process integration solutions you create with LANSA Composer. It should be in the same database as your application data. Your LANSA Composer solution can access your application database (for example in Transformation Maps) even if it is in another database, database system or even on another computer.
When you have created your database, continue with Start the Installation Program.