Connecting to Microsoft Access to Define a Transformation Map
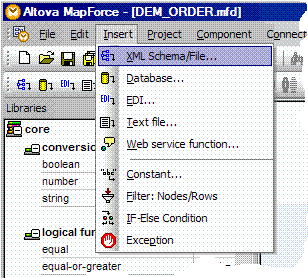
While defining a Transformation Map using the mapping tool, you will select the option from the menu (or use the corresponding toolbar button) to insert a database component.

The dialogs you have to complete depend on the type of database connection you insert and on choices you have made in previous sessions in the mapping tool. The following steps describe some of the most common and important dialogs and choices: The actual windows you will see and have to complete in order to establish your database connection will vary according to the type of database, driver, previous database selections and other factors. What follows is an example sequence of windows for establishing a new connection to a Microsoft Access database on your network.
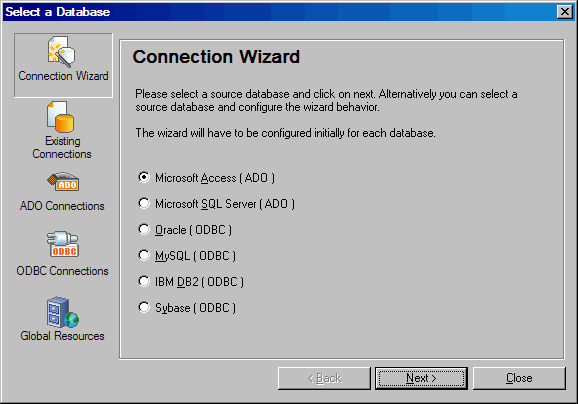
1. On the first panel of the , choose Microsoft Access as the database type and click .
(If the is not shown, click the button to display it)

Note: The Microsoft Access ODBC Driver need to be installed on the PC that runs Composer Client and Altova MapForce to enable access to Microsoft Access databases. Most standard Windows installations include this and other standard Microsoft ODBC drivers. If your PC does not have this driver, you may be able to obtain it by downloading and installing the appropriate Microsoft Data Access Components package.
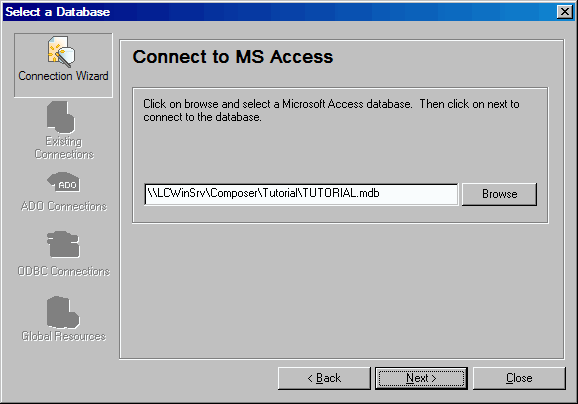
2. When prompted to select the Microsoft Access database, type the network path to the database or use the button to locate it. When complete, click .

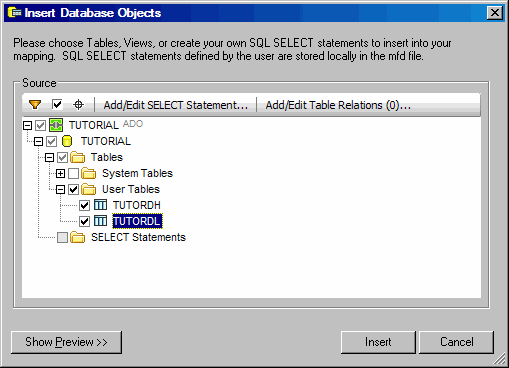
3. When your ODBC connection has been successfully established, the mapping tool allows you to choose the particular tables you wish to use in your transformation map:

4. When you have completed your selections, click . A database component representing the selected tables is inserted in the workspace for the map.