Step 1. Starting the LANSA Development Environment
In this step you will locate the LANSA folder and start LANSA.
1. The Visual LANSA Installation creates a LANSA desktop folder a shown:
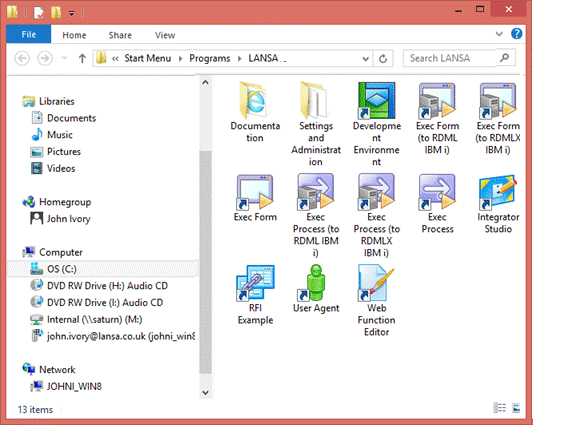
If you open the folder, you can directly access the LANSA online documentation. Help (also referred to as the ) can also be accessed from within the . The IDE includes extensive context sensitive help links.
If you open the folder, you will see a group of program icons used by LANSA Administrators to configure the LANSA environment:
2. Start LANSA using the icon  in the LANSA folder
or
via the icon in the .
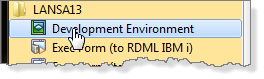
3. Double-click on the  icon to start LANSA. The dialog will open:
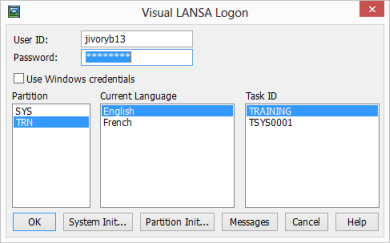
Logon using the and provided by your course instructor.
If you are using a trial, stand alone installation, logon using:
PCXUSER, PCXUSER, DEM and PCXTASK.
The LANSA Editor will open. The appearance of the editor will depend upon the type of installation as well as the editor settings
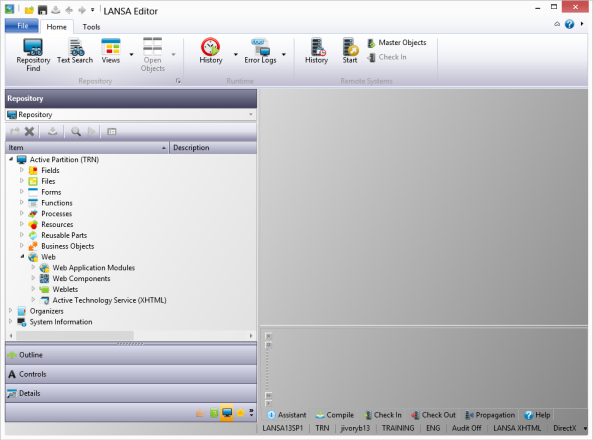
Note: Visual LANSA is shipped configured with a grey color scheme. You will find most of the images included in this tutorial use a blue color scheme. You will learn about changing the appearance of the IDE and editors in this tutorial.