Step 2. Repository, Favorite, Outline, Details Tabs
In this step, you will learn how to reposition the four basic editor tabs used with LANSA objects: y and
1. On the ribbon expand the menu to display all possible tabs. Note that a number of these tabs can also be opened using a function key.
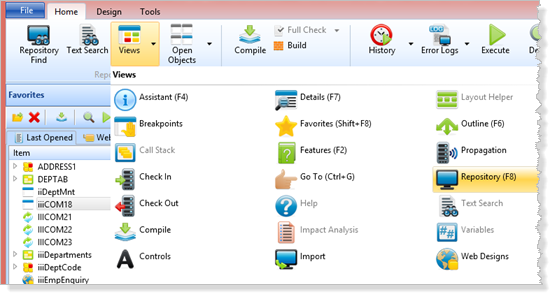
By default, the tabs are shown using the , Navigator.
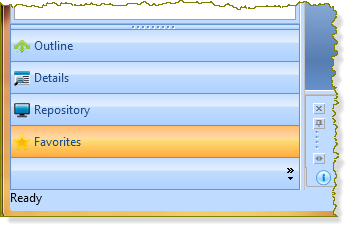
The Navigator style, shows tabs as buttons. These buttons may be hidden by using the Show Fewer Buttons option:

For example:
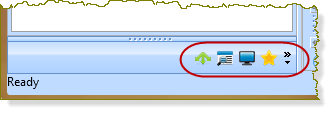
You would then click on an icon to open a tab.
2. Right click on the tab title, and use the option to select :
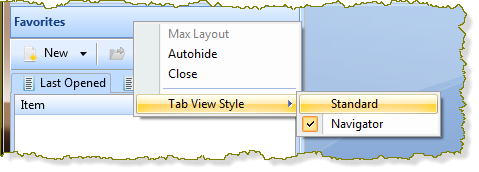
The tabs will be displayed at the bottom:
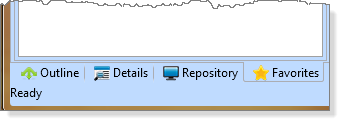
3. Right-click on any tab to open the context menu. Select to move the tab names to the top.
All four tabs will switch to the requested location. In the example below, the tabs are now located at the top of the window:
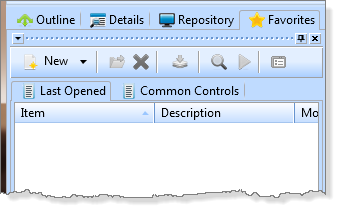
4. Click on the tab, to display it.
5. Click on the autohide  button in the corner of the tab to hide the and tabs.
When you use autohide, you have more room to work with the objects open in the editor.
6. Press F8 to see the y tab again. This will display the tab briefly and it will hide again when your cursor moves off it.
7. Click on another area of the editor and the tab folder is automatically hidden.
8. Click on any tab and then click on the Attach button  to lock the tabs back into place.
All tab folders are attached back to their original position and will now stay visible regardless of where the focus is in the editor.
Assistant, Help, Compile Tabs
These tabs appear at the bottom of the editor and you can maneuver them in the same way as for the Repository tab, except that you cannot dock them into another location.
Host Monitor Tabs
If you are using Visual LANSA with a LANSA for iSeries System, the editor will include and tabs. You can undock them, adjust their size and hide them, as described for the tab.