Step 1. Editor Parts Overview
1. If you haven't already done so, start as described in .
The initial appearance of the Visual LANSA Editor will depend upon your type of system installation. If you are using a Visual LANSA System, the editor will initially appear something like the following:
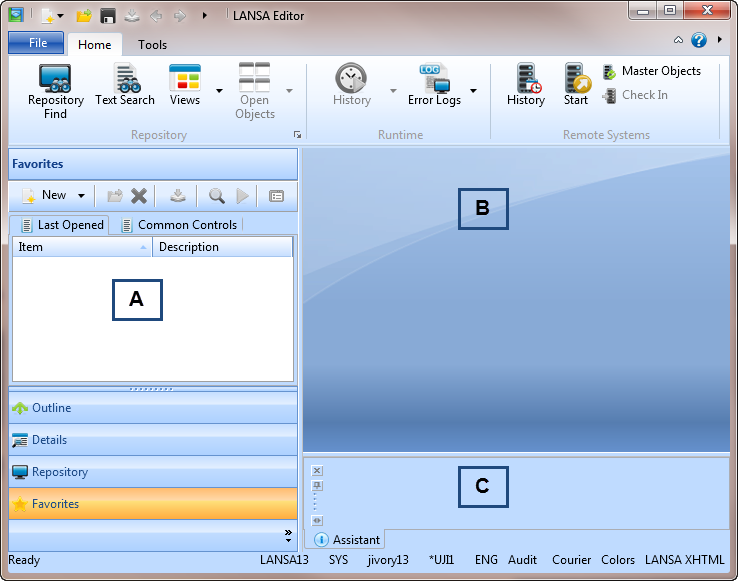
- There are three main areas in the Editor:
A. The , and tabs. The andtabs are used for selecting objects in LANSA. The tab is used to edit object details and the tab lists the names of the objects open in the editor and shows the structure of these objects. These four tabs are initially situated on the left side of the editor but can be moved as required.
B. This area displays the details of the selected object. The tabs shown will depend on the object selected. For example, if a Function is displayed, the tabs most likely displayed will be the tabs. If a file is displayed, then you will see these tabs: .
C. The (and optionally the and ) tabs provide status information and assist in performing specific actions. They initially appear at the bottom right side of the editor.
The sample screens in this tutorial are from a Visual LANSA system. Your screens will be slightly different if you are using an Visual LANSA System.
Your editor's setup and system settings will impact the information that is displayed. Your screens may not be an exact match to the examples shown in these exercises.
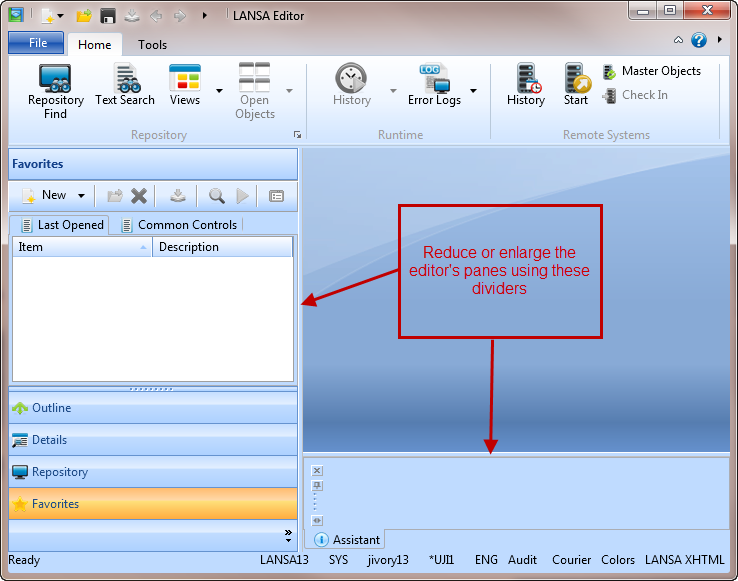
2. You can resize these three main areas by dragging the horizontal or vertical splitters or dividers between the panes. Simply click on the divider (arrows will appear) and with the left mouse button pressed down, drag the divider to change the size of the pane.