Step 3. Define Filters and Command Handlers
In this step you will define three filters for _Employees and make a few basic enhancements to the prototype application. To enable you to quickly progress with these exercises, the enhancements steps have been kept to a minimum and the Statistical Reporting business object is not prototyped.
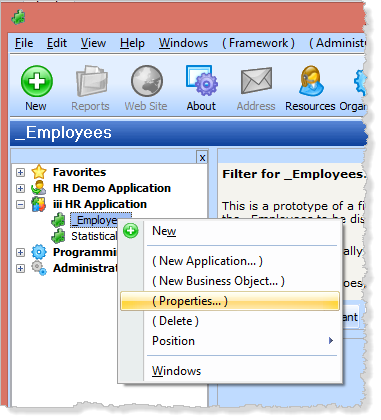
1. Open the dialog for _Employees.
To do this select the _Employees business object on the Navigation panel and use the right mouse menu to select the Properties dialog.
2. Select the Icons tab:
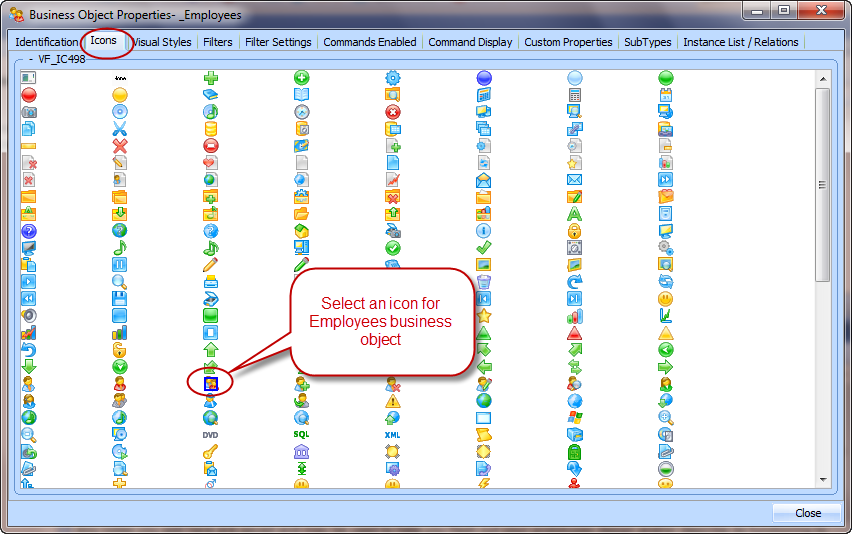
Select an icon for the _Employees business object.
3. Select the tab. Change the Filter Name to By Name.
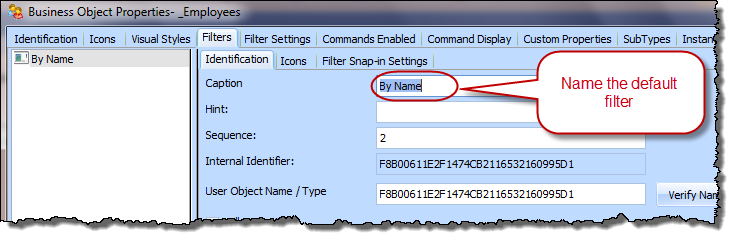
4. On the tab, select the tab and select any suitable icon.
5. Add a new filter by clicking on the New button.
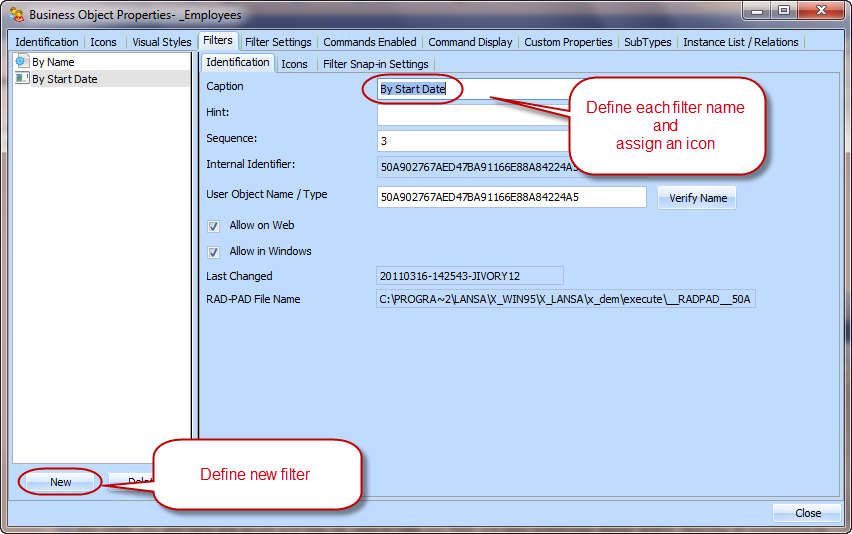
a. Change the new filter's name to By Start Date and select any suitable icon.
b. Click the New button and name the third filter By Location and select any suitable icon.
6. Select the Commands Enabled tab.
a. Select the New command in the Enabled column. Notice that it is a Business Object Command. This is because the command applies to the entire _Employees business object (instance list commands apply to the selected item in the instance list).
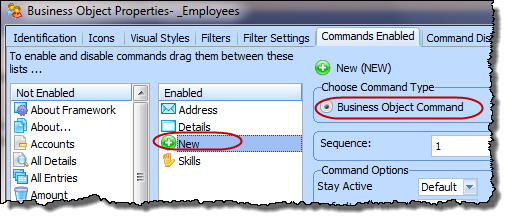
Next you specify how business object commands are displayed.
7. Select the Command Display tab.
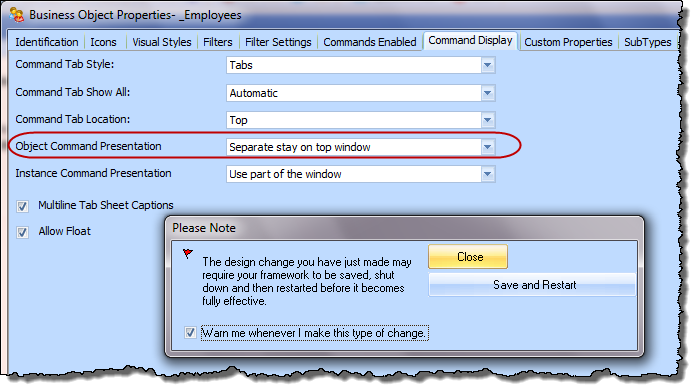
a. For Object , select Separate stay on top window.
b. Click the on the prompt that will appear.
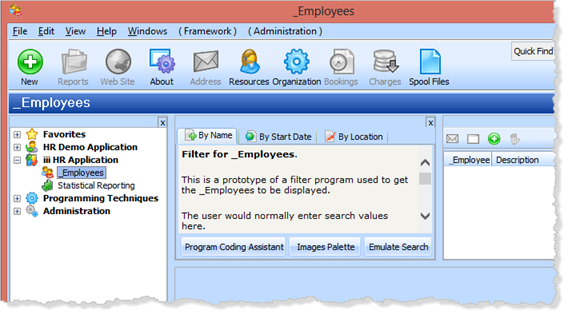
When your framework has restarted, it should look like this:
8. With the _Employees business object selected, click on one of the  New buttons. Notice that there is a New button in the main toolbar and in the toolbar above the instance list. All these features may be configured differently.
The New dialog is displayed as a stay on top window. Notice that you can resize this window and use the Record Size button to remember the window size for the next execution. Note that the text can be edited.
9. Close the New dialog.
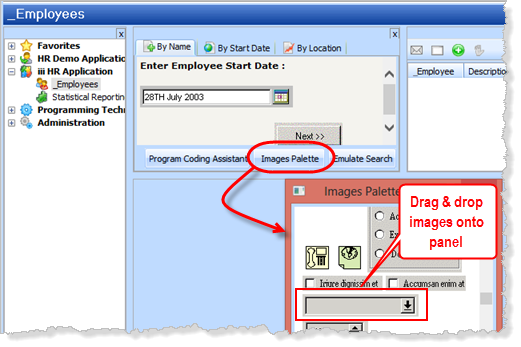
10. Click in one of your _Employees filter panels. Notice that these can also be edited. The panel provides a simple line editor. When adding text or images, type to move to a new line as required.
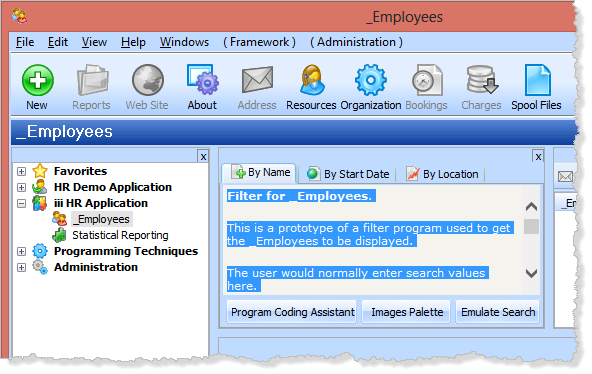
11. Delete the existing text, add suitable text and drag and drop images from the images palette. Your objective is to make each panel "realistic" so that your users will understand the intended design when you review the prototype with them.
Restrict your changes to one filter panel. In your own projects, you would continue to enhance the appearance of every filter and command handler panel with suitable text and images.
12. your framework.
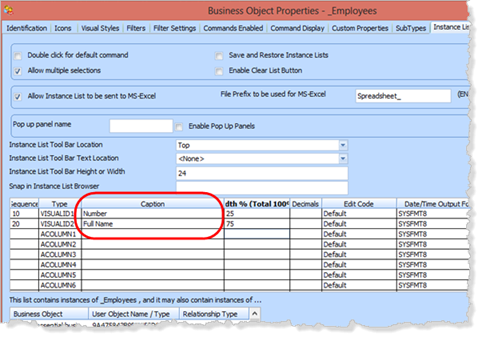
13. Display the properties of the _Employees business object and select the Instance List / Relations tab. Change the first two Column Captions to Number and Full Name. Note that there only two enabled columns, which have a column sequence number.
In your own applications you would probably enable additional columns and ensure that your filter components populate these extra columns.
14. Close the dialog.
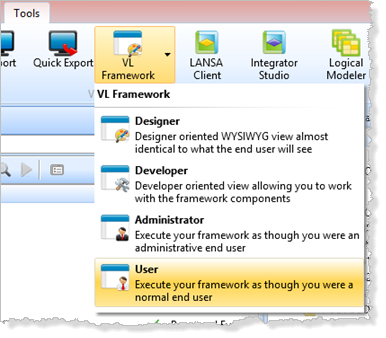
15. Save and close your framework and re-open it as a User. Execute your prototype and ensure it meets the requirements.
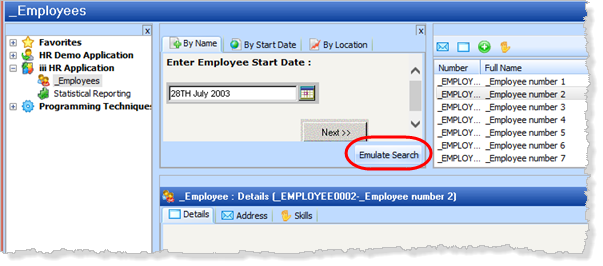
Notice that the button will populate the instance list.
16. Select an instance list entry to display the _Employee command handler tabs.
Important note: In order to limit the time taken, the prototyping section of the tutorials is brief. However, when you are creating a real Framework application, prototyping is the crucial step that will determine whether your project will succeed or fail.
A well thought out prototype will clearly communicate what the finished application will be like. You need to have it reviewed and signed off by both end-user representatives and developers. Users will know what they are getting and developers will know what they need to deliver.