Step 7. Create and Execute Test Form
REP001 - Create Fields
In this step you create a simple test form which will show the fields you have created on a form. No coding is required to create this application.
1. From the menu, select the option and select from the graphical menu. Then select , to display the dialog.

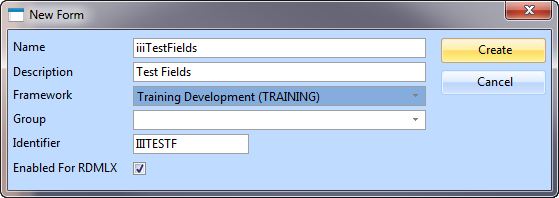
2. Enter the following characteristics for the form:
|
Name |
iiiiTestFields |
|
Description |
Test Fields |
|
Framework |
Select any suitable Framework such as Personnel & Payroll. |
|
Enabled for RDMLX |
Yes (the default for this option is determined by the partition settings). |
2. Press the button. A blank form will open in the Editor.
a. Drag all the fields. Except III_NAME from iiiLIST to the form. You can either drag them individually or as a group.
If you select them as a group using the Shift + Left Mouse button, the fields will be lined up neatly on the form.
b. Your form might appear like the following:
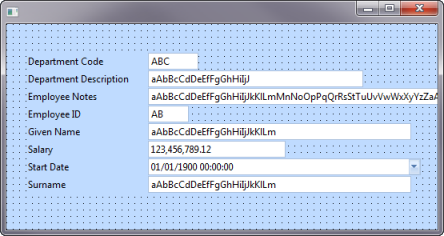
Do not add any code to your form. You are simply testing the interface.
4. Press the  button on the ribbon to compile your form. The Compile tab will show you the progress of the compile.
5. Check that the form compiled successfully.

6. Press the button from the group on the ribbon, to execute the form.
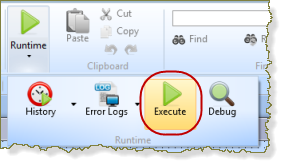
Note: The appearance of ribbons depends on the size of the Visual LANSA form. Groups such as are displayed as a single button when space is limited.
The execute dialog may appear depending on your option settings.
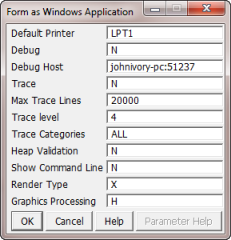
7. Press the button to execute the form.
Your window should appear something like following:
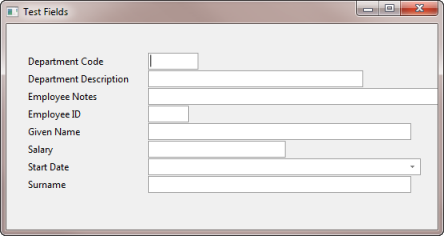
8. Test the following:
a. Enter the number 2000 in the Salary field. Notice how the number is formatted once focus leaves this field (this is controlled by the in the field definition).
b. Drop down the calendar in the field to specify a date. The way the field is displayed is the default visualization for a field (this will be described in more detail in REP002 - Field Visualizations).
9. Close the Test Fields form.