Step 4. Check In Changes
FRM125 - Check Out / In to IBM i
In this step, you will check in the changed system variable back to LANSA for iSeries. Once you have completed this step, you will delete the system variable from the IBM i.
1. Using the Repository tab, select the *AUTOALP09iiiNUM system variable and right click to display the context menu.
2. Select the option.
The dialog will be displayed.
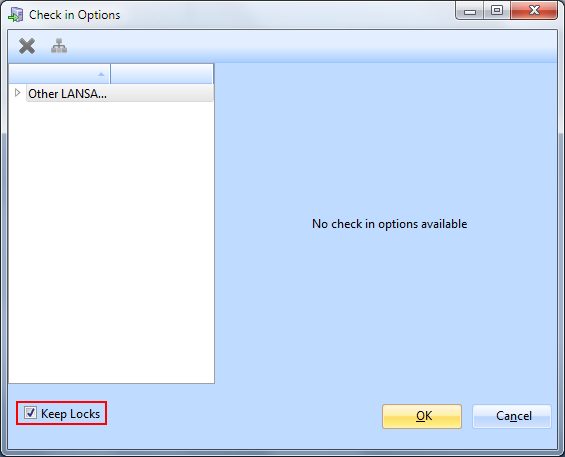
No check in options are required for system variables. If you were checking in an object, such as a form or function that can be compiled, a set of compile options would be displayed.
Note: If your task uses a "Release Locks" setting when checking in to the server, you will need to select the checkbox on this dialog, so that you can delete it from the repository in a later step.
3. Press the button to check in the changed system variable.
4. Display the Check In tab at the bottom of the editor. Notice the status messages that are displayed.

5. Once the check in has been completed, you may logon to LANSA for iSeries and view the *AUTOALP09iiiNUM system variable. The new definition should be displayed.