Step 8 Install Windows Server Application
Step 8. Install Windows Server Application
DTE095 – Create a Windows Server Installation
A Windows Server install will always need to be run using an Administrator profile. For your own application you would now install the server application to a Windows server. For training purposes you will install it to your PC.
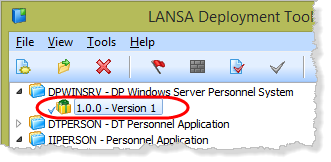
1. In the Deployment Tool main window, select the IIWINSRV application and click the ![]() toolbar button to open Explorer in the application folder. For example:
toolbar button to open Explorer in the application folder. For example:
2a. For Windows 7, using a user who is a member of the Administrator group, double click on the MSI file to run it.
2b. For Windows 8, open a Command Prompt using :
Navigate to the application packages folder shown above.
Enter the command msiexec.exe /I II then press and the MSI file name will autocomplete, for example: msiexec.exe /I IIWINSRV_v1.0.0_en-us.msi then press to start the install.
3. A series of Windows install dialogs will be displayed:
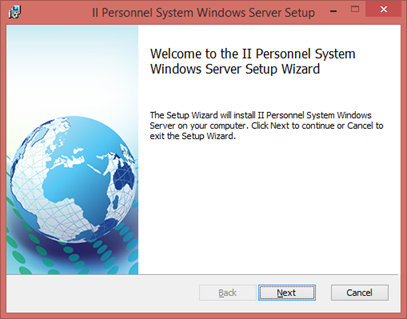
4. Click to continue.
5. The dialog is displayed:
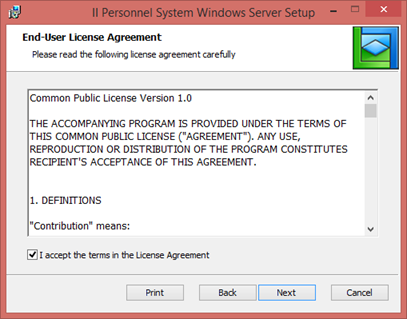
A sample end user licence agreement is provided in:
…\x_app\X_Wix\Content\license.rtfYou should edit or replace this file to implement your company's licensing terms if necessary.
6. Select the 'I accept….' check box and click to continue.
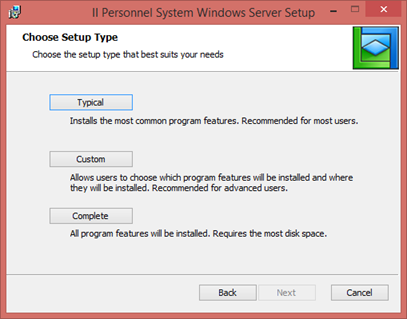
The dialog is displayed:
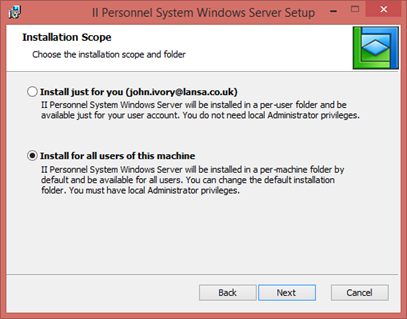
When installing a server application, this should always be installed for .
7. Select the radio button. Click to continue.
The dialog is displayed:
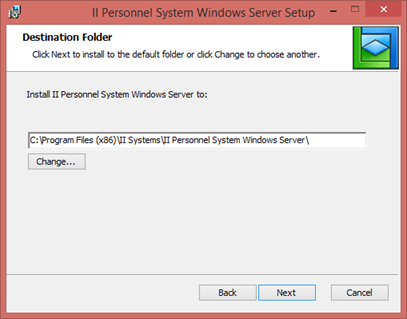
You will notice that the default install path includes and .
The button allows you to select an alternative install path.
8. The dialog is displayed:
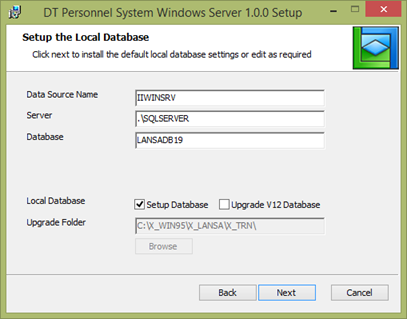
Notice that a number of parameters are input capable and may be changed, because the checkbox was selected.
9. It is essential to be aware at this point that the check box must be selected. The install will then continue by defining and populating the LANSA repository tables and depending on what options were setup for the application files, the install will build the application tables and views and load the file data.
10. Click to continue.
11. Since a Listener is being installed the Communications ports dialog is shown. Confirm that the port number is as required.

12. Click to continue.
The dialog is displayed:
13. Select any and then click to continue.
The dialog is displayed:
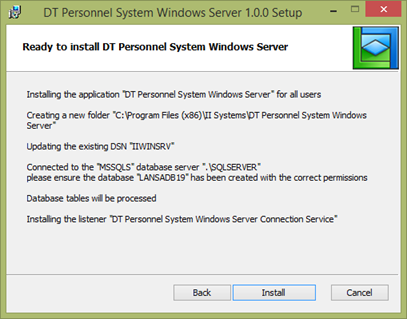
This dialog shows:
- where the software will be installed
- the ODBC System Data Source Name (DSN) entry which will be created
- the database server connection and database name used
- a LANSA Listener will be installed.
Note that during the install process, each dialog has a button which allows you to back out and change earlier options which were selected.
14. Click to continue and a progress bar will be displayed as the install file is unpacked and run.

Once the install process is complete, the dialog is displayed:
15. Click to close the install program.
16. In the Deployment Tool main dialog, select Version 1 in the II Windows Server Personnel System application and click on the Distributed ![]() toolbar button to set the package status to Distributed. The package can no longer be opened in the Package Maintenance dialog.
toolbar button to set the package status to Distributed. The package can no longer be opened in the Package Maintenance dialog.