Step 2. Install Version 1 of Personnel System
DTE025 – Install Version 1
1. Double click on the MSI file to start the installation. The dialog will be displayed:
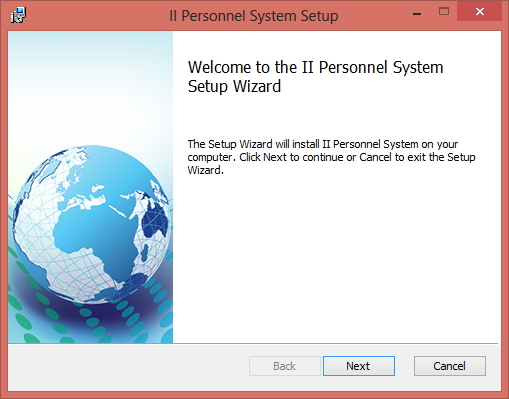
2. Click to continue.
3. The dialog is displayed.
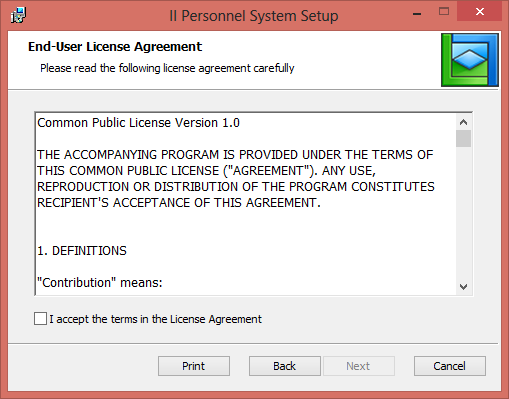
a. A sample license agreement file is supplied in:
…\x_apps\X_Wix\Content\license.rtf
b. You should edit or replace this file to implement your company licensing terms if necessary.
4. Select the check box and click to continue.
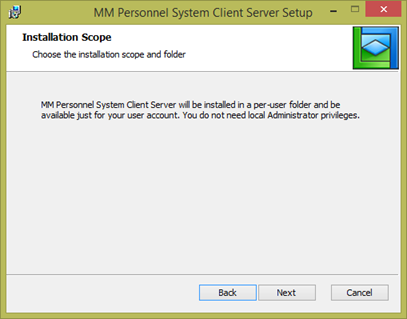
5. At the , select and click .

If you are given a choice (as above) select . This will depend on whether you are installing to Windows 7 or Windows 8 and whether UAC is enabled.
The following dialog will vary between Windows 7 and Windows 8. For example in Windows 8, since UAC is always enabled, the following dialog will be shown:
For Windows 8, you would need to install using a Command Prompt, started using . Refer to in the .
For Windows 8, you would need to install using a Command Prompt, started using . Refer to in this guide.
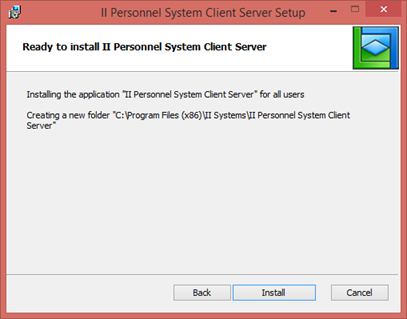
6. Click to continue. The dialog will be shown:
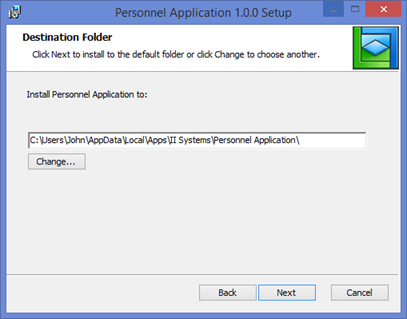
The button allows an alternative folder to be selected. The above image is for Windows 7 and the default path will be:
C:\Users\John\AppData\Local\Apps.
Notice that the recommended path includes the Company and Application Name:
. . .\II Systems\II Personnel System\
The per-user install path will be similar to the following:
C:\Users\John\AppData\Local\Apps\II Systems\II Personnel System Standalone\
7. Click to continue. The dialog is displayed.

Select to continue. Currently any of these options will install the complete package.
8. Click to continue.
9. The dialog will show progress with messages and a progress bar.
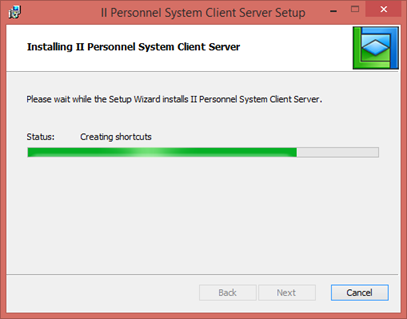
10. Click to complete the installation.

Note that the check box is selected.
11. Your main form will run and invoke the Super Server Connector form.
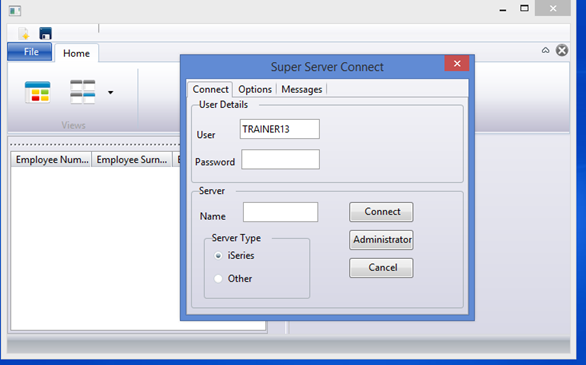
The Server Type defaults to IBM i. Enter your User ID, Password and Server Name.
12. Select the tab which will initially show the default conversion tables. You need to enter the correct values for your system, which will depend on your IBM i code page. For example QCHRID = 37 is for a US English system. The EBCDIC to ASCII conversion tables used will depend on your national language.
Your trainer will provide the correct values for the system being used for classroom training.
You can easily look up this information from your Visual LANSA install configuration.
To do this:
Select from the right hand side toolbar.
In the dialog, select the tab.
Expand the InstalledSettings.cfg entry and scroll down to find the for your system:
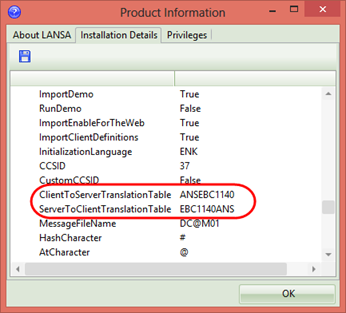
13. Enter these values in the tab in the form.
14. Click . After connecting with the server, the connect form will close. The main form then populates the browser panel on the left with all employees.
Note: The Connect form will save and restore all entries except the password.
15. As before, you are now able to edit and save an employee having selected it by double clicking in the browser or using the context menu to Open the employee details in the editor. The application handles multiple employees with each open in their own editor instance. A new employee may be created using a toolbar button. All changes are saved using a toolbar button.
The application warns if closing and an employee has been changed and not saved.