Import Data Templates
You can use existing in-house data and enter it into either of these spread sheets.
IPFXImportTemplate.xls
ImportTemplate.xls
Note: Use IPFXImportTemplate.xls for IPFX sites only, and ImportTemplate.xls for all other sites.
To set up a template
Divide the spreadsheet into four sections as noted below.
- Departments
- User Feature Levels
- Extensions
Populate Import Template Spread Sheet.
Departments
Field |
Description |
Description |
Enter Department description (for example: Sales, Marketing). |
User Feature Levels
Field |
Description |
User Level |
Enter description |
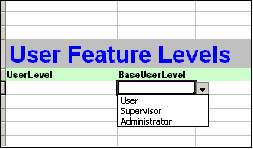
Base User Level |
A drop down box appears. Select the Base User Level required:
|
Extensions
Field |
Description |
Extension |
Enter extension |
First Name |
|
Last Name |
|
|
|
LCD Name |
Name that appears on the telephone screen LCD display (Dterm only for NEC). |
Title |
Enter Title |
Position |
Enter Position |
Notes |
Enter relevant notes |
Department |
This field has a drop-down box which related to previously entered Department information. Select the required department. |
User Feature Level |
Select the required User Feature Level from the drop-down box. |
Object Type |
This is the phone type; select from the drop-down box. |
Region ID |
Enter an RegionID as found under the Groups, Regions, Number column. If no RegionID is given the Extension will be allocated to the Local default RegionID of the server. |
Direct Dial Numbers
PBX Dependent Feature! 
Note: There is a Name Box feature in the top left corner of the Spread Sheet. This has a drop-down menu which provides short cut access to other sections. Select your required section for immediate access to that section.
- Open the Name feature box and select Direct Dial Numbers.
- Enter the description information for the fields.
Field
Description
Number
Enter Direct Dial number
Day Destination
Enter day destination number
Night Destination
Enter night destination number
Comments
Enter any usesful comments
To save file template
- File > Save As.
- Save as .csv file (comma delimited)
- The Microsoft Warning Screen will display.

- Select Yes
- Save as .csv (comma separated values).
- On exit you will be asked to Save again.
- Select No.
- Click on the Config icon on the Top Toolbar.
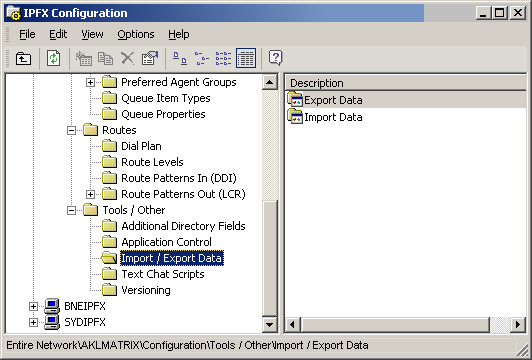
- Navigate the path Configuration/Tools Other/Import Data.
- Double click on Import Data in the right hand window.

- The CSV Data Import Screen displays.

- To enter File Name on Screen, (or browse to required .csv file).
- Click OK.
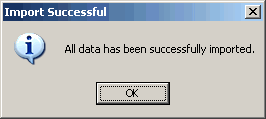
- Import Successful Screen displays.

- Click OK.
