Adding / Editing an Audio Text
From IPFX Administrator
Adding / Editing an Audio Text
To Add or Edit an Audio Text
Open the Features\Audio Text subfolder and right-click on the right side of your screen to display the shortcut menu, i.e.
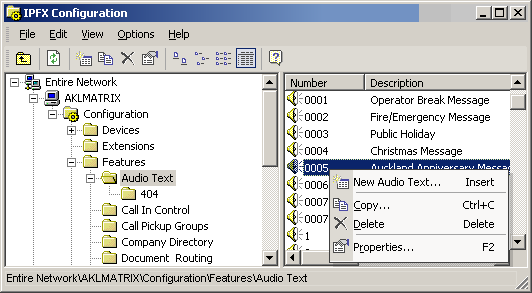
Select New Audio Text on the drop-down menu (or you can select New Audio Text from the File menu).
Note: If using categories, you can sort the Audio Text boxes into their categories by clicking on the 'Categories' column header.
To add a new Audio Text
Select New Audio Text from the short-cut menu, or Select New Audio Text from the File Menu.
The Audio Text Properties screen displays:
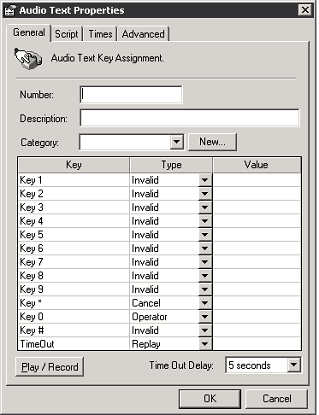
- Enter the New Audio Text number.
- Enter the description of the New Audio Text file.
- Select the Category Type from the drop-down menu, OR.
- Click the New.. button to create a new Category.
- Enter your Category Name on this screen.
Note: A category enables you to group message boxes (Audio Text messages) for ease of locating. e.g. Holiday Messages, Emergency Messages.
- Click OK.
- Select the Type from the drop-down menu for the Key you select.
- Click in the Value field and enter the Value.
- Time Out Delay: Select the Time Out Delay from the drop- down menu.
- Click OK.
To edit an existing Audio Text
- Double click on the required message. This displays the Audio Text Properties form for the selected Audio Text.
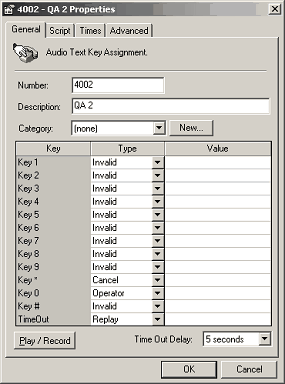
- Make the changes required.
- Click OK.