Adding / Editing a Call In Control
From IPFX Administrator
Adding / Editing a Call In Control
To access Call In Control
- Click on the Config button on the top menu.
- Click on Features.
- Open the Call In Control folder.
The right side of the screen will now show the Call In Control Configuration numbers.

To create a new Call in Control
- Right click in the right side of the screen to display the shortcut menu.
or
- Select New Call In Control from the File Menu on the IPFX Configuration Screen Toolbar.
Either of these actions will display the Shortcut Menu bar.
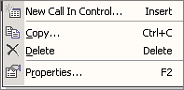
- Select New Call in Control.
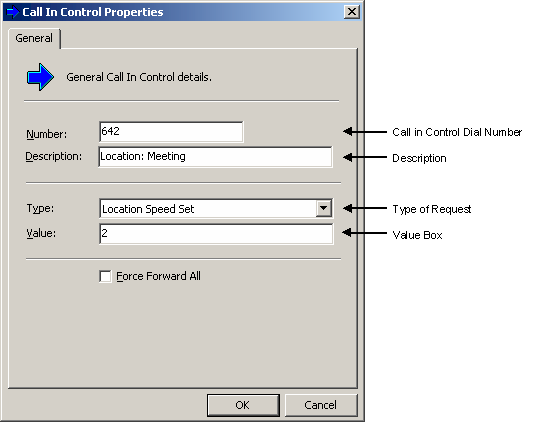
A blank Call in Control Properties screen displays.
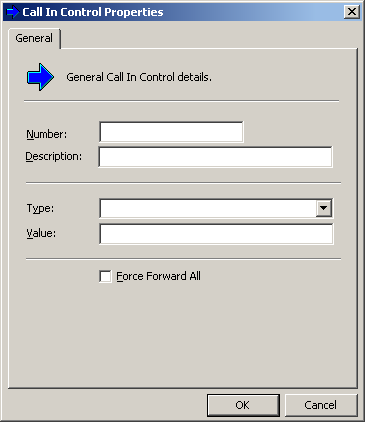
- Enter the new Number in the Number field.
- Enter the Description.
- Select Type from the drop-down menu.
- Enter the value.
- Click OK.
To edit an existing Call In Control
- Double click on an existing item.
This displays the Call in Control Properties screen.
Note: Any call that does not go to an extension or Queue Pilot which you want voicemail to handle, has to come via Call In Control. e.g. If you have a DDI you want to terminate on a message box, you need to forward it to a Virtual extension in the PABX.
This virtual extension will need to have a Forward All to the voicemail pilot.
At this point, the virtual extension can be entered into Call in Control and pointed to the message box.
A description of the fields for the above screen is set out below.
Number
The number or virtual number sent by the PABX to the voicemail to obtain the Call In Control feature.
Description
Allows you to name the Call In Control to identify its use.
i.e. Voicemail Access, Change Locations.
Type
What is required to happen when the Call In Control Number is dialed.
Type
|
Description
|
Day Menu |
Plays the Day Menu. |
Night Menu |
Plays the Night Menu. |
Message Box |
Sends caller directly to a message box. |
Message Box Admin |
Shortcut to Administration Menu. |
Mailbox Password |
Accesses your voicemail after prompting you to enter your password. |
Mailbox No Password |
Accesses your voicemail without entering a password. |
Mailbox Previous Owner |
Used for Hospitality package. |
Transfer to Voicemail |
Allows you to send a message to other extensions. |
Location Speed Set |
Allows you to change your locations. |
Location Set Other |
You can change your location from another desk. You will be prompted for your extension. |
Dial by First Name |
Allows you to dial a staff member by entering the first three digits of their first name. |
Dial by Surname |
Allows you to dial a staff member by entering the first three digits of their last name. |
Find Person's Availability |
You will be prompted for the person's extension and once entered, their location will be played back. |
VM Listen to Call |
Not currently used. |
VM Retrieve Call |
Not currently used. |
Divert to Voicemail |
Diverts to a specified persons voicemail. |
Divert to Extension (Ring) |
Will ring the extension number listed. |
Divert to Extension (No Ring) |
Will go straight to voicemail of the extension number listed. |
Callback |
Utilized by Call Centre. Allows caller to leave a voice message and be called back without losing their place in the queue. (You must have the Call Back module to enable this feature - for further information on setting up an agent to receive Callback, please refer to Queues\Agents.) To enable a Callback, please refer to your Reseller. |
Wrapup Codes |
Allows you to enter your wrapup code via the phone if you don't have a Dterm utilizing an OAI code. |
Hot Desk |
Allows you to log in / log out of Hot Desking. |
IVR |
Allows integration with a CRM package. |
Value
This identifies where the caller is being redirected. Message Box = 400.
Force Forward All
Check this option if you want the Call In Control to automatically set a Forward All.