Adding / Editing a Basic Queue
Click the Config button in your client's toolbar and navigate to the folder Configuration > Queues > Queue Properties.
To create a New Basic Queue
- Right Click in the right side of the screen to display the short cut menu, shown below:
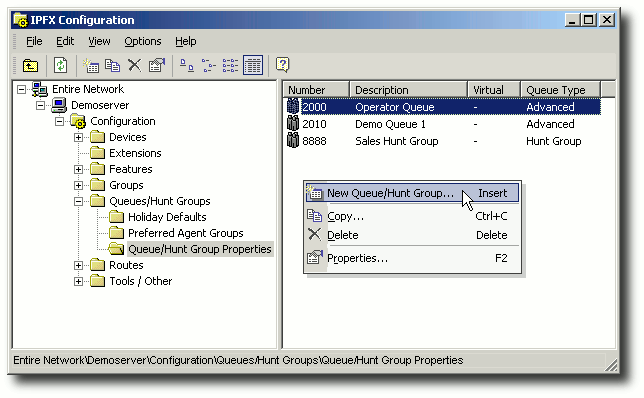
- Select New Queue
- You will be shown the options in the screen below:
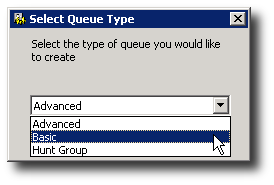
- Select Basic.
- The Basic Queue Properties screen appears. An example of the Basic Queue Properties is shown below.
General Tab
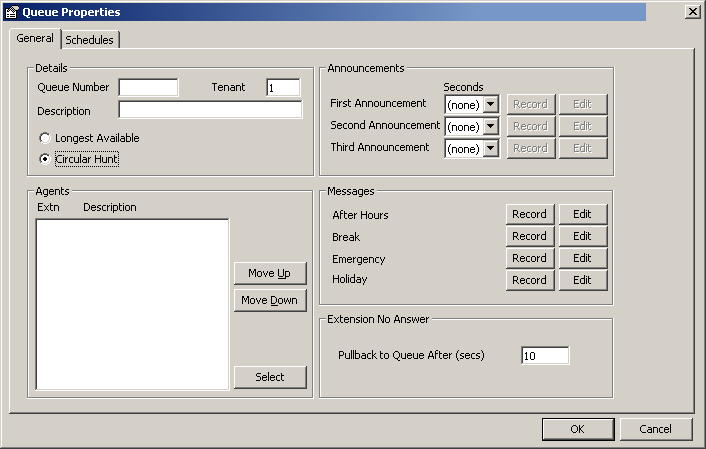
A description of the fields on this screen is set out below.
Queue Number
This is the Queue number given to the queue group when initially set up. It must not be the same as a normal extension number.
This needs to be set up at a PABX level and added to extensions and registered prior to creating a queue.
Tenant
If more than one company share the same PABX, tenants can be set up into groups. i.e. Company X will only be able to communicate with other extensions in the same tenant number (ie. Tenant 1). This also applies for Queues.
Description
Enter a description that matches the intention of the Queue for easy reference.
Longest Available
This means that the phone which has been idle the longest within a queue will receive the next call. This is the default.
Circular Hunt
This means that all calls are continuously despatched to Agents in the order selected. When Circular Hunt is selected the Move Up/Move Down and Select buttons become visible (as shown in the screen above).
Click the Select button to display the Add/Remove Agents from the Queue screen:
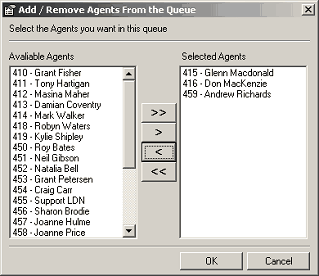
Use the Arrow buttons < > to select/deselect Agents for this queue. Click OK.
The Agents will appear in your Queue Properties screen, i.e.
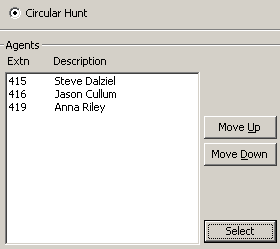
If you wish to change the order in which the Agents appear:
- Select the Agent you wish to move.
- Use the Move Up/Move Down buttons to rearrange the list.
Announcements
These instructions apply to the First, Second and Third Announcements.
Select the time to elapse in seconds (the available range is Zero to 300) from the drop-down menu beside each announcement.
The Record button becomes active when the Seconds field is populated. Click the Record button to record your message.
Click the Edit button to display the screen below.
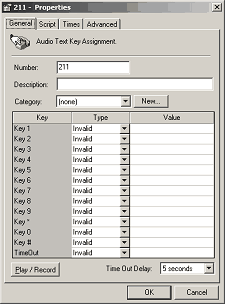
Make alterations if required.
Click OK.
Note: For further information on how to set up an Audio Text Box, please refer to Audio Text.
Messages
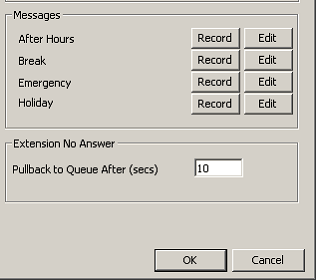
Click the Record button to record your message for each type. i.e. After Hours, Break, Emergency, Holiday.
Click the Edit button to amend your message if required.
Extension No Answer
Pull Back to Queue After (secs). The default for this is 10. You can change this if required.
Note: Ensure that this value is less than the queue extension's Forward Timeout value. If the Pullback to queue... value is greater than the Forward Timeout value, unanswered calls to the hunt group may be forwarded to an agent's voicemail.
Note: IPFX Call Centre Express only provides standard Calls in the queue, not different forms of media such as Emails and Faxes, etc.
Schedules Tab
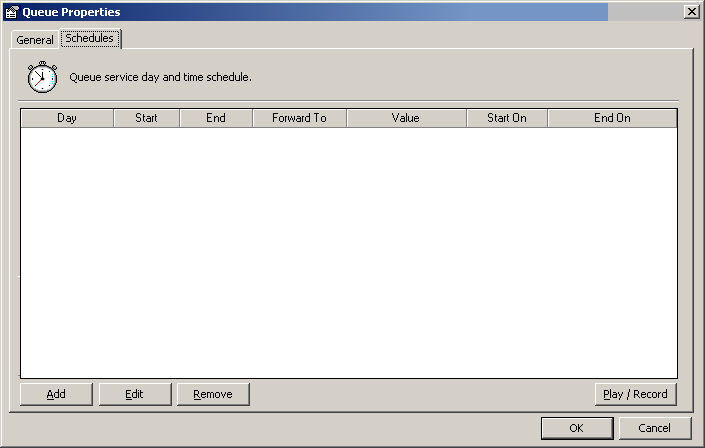
Please refer to Advanced Queues' Schedules Tab.