Step 5. Apply Toolbar Weblet to an Employee Maintenance WAM
WAM105 - Create Your Own Weblet
In this step you will create a new WAM based on supplied RDMLX code, set up the web page for each WebRoutine and then add the toolbar to the WAM layout.
1. Create a new WAM iiiEmpMaint_TB – Employee Maintenance with Toolbar, using Weblet Template iiilay01, based on the code supplied in WAM 105. Appendix.
2. Compile the WAM.
3. Examine the WAM code and note the following:
- Fields HIDEDEL, HIDESRCH, HIDENEW, HIDESAVE are globally mapped as hidden fields – these fields control whether the tool bar icons are shown.
- Field WRNAME is also mapped globally as a hidden field. This is used to control which WebRoutine the Save button calls.
- The WebRoutines set the value of the "HIDExxx" fields as appropriate. For example the Begin WebRoutine shows only the New toolbar icon.
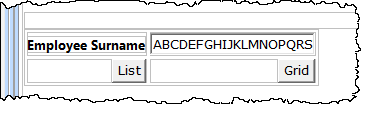
4. Open the begin WebRoutine in the Design view, add a row to the table and add pushbuttons with a caption of List and Grid and with on_click_wrname values of emplist and empgrid respectively. These buttons do not require a submitFieldValues property.
5. Open the emplist WebRoutine in the Design view. Drop an Anchor weblet onto the employee number field in the first list column. Set up the Anchor weblet properties as shown:
|
Property |
Value |
|
currentrowhfield |
EMPNO |
|
currentrownumval |
$EMPNO |
|
Reentryvalue |
M |
|
on_click_wrname |
maint |
Your list should now look like the following:

6. Save your changes.
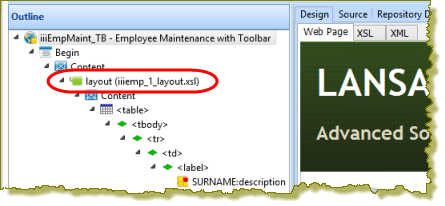
7. Select the  Outline tab. Double click on the layout iiiempma_layout.xsl to open it.
Note: The layout name uses the WAM Identifier, which may have a different value in your Visual LANSA.
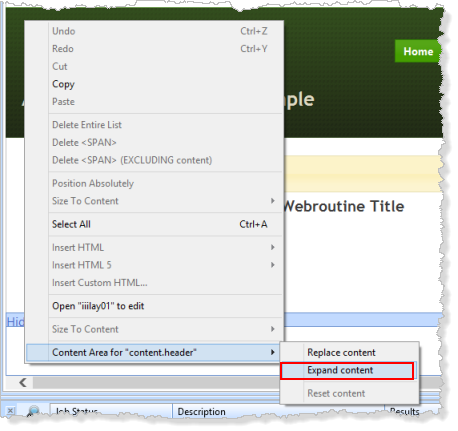
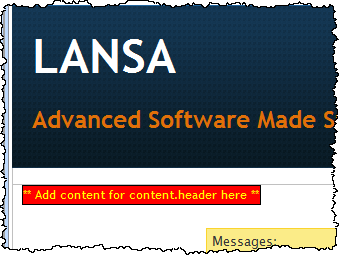
8. With the wam layout open in the editor, click on the header area and using the context menu, select Content Area for "content.header" and Expand content.
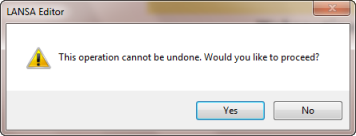
In the Confirm dialog, click OK to confirm your change:
The layout will be redisplayed, with the change area highlighted in red.
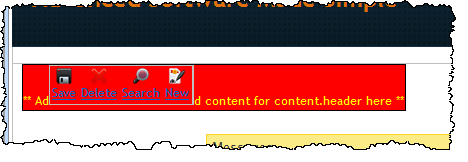
9. Select the Add Content area. On the Weblet Templates tab, select Custom Weblets and drop your iii_toolbar weblet onto the layout, inside red Add content area. This is actually a span tag, with inline styles set, giving a red background and yellow text. Your layout will now look like the following:
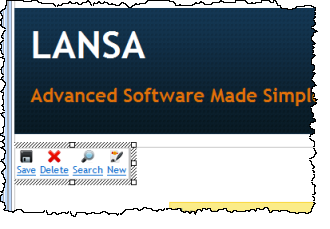
10. Click on the Add content area to select it, and use the Details tab to clear its inline styles. This will remove the red background, yellow color and black borders. It also has a margin of 10px which could be retained, if required.
Delete the ** Add content . . . . . text from inside the span, leaving your just your toolbar weblet.
Your page should look like the following:
11. Save and close the wam layout. You have added the toolbar weblet into this WAM layout only. If it was required in all your WAMs you could have added it into your common layout, iiilay01.
12. Execute your WAM in the browser by running the Begin WebRoutine. Test the operation of the toolbar. The toolbar items will be hidden when not required. For example, the Begin WebRoutine will display only the New toolbar item.