Step 3. Refine Layout Weblet Definition
In this step you will define a style External Resource for your new style sheet, and add the external resource to your layout.
1. You created a style sheet (iii_acme_style.css) for the new layout in Step 1.
a. Copy your iii_acme_style.css from \My Documents\iii_layout to your Visual LANSA web server \images\style folder. The path name should be similar to:
C:\Program Files (x86)\LANSA\WebServer\Images\style
On the IBM i, copy to the web server /images/style folder for the LANSA installation which you are using. The path name will be similar to:
LANSA_<PGMLIB>/webserver/images/style
Where <PGMLIB> is your LANSA program library.
b. Create an External Resource for this style sheet using the New / External Resource / External Resource option.
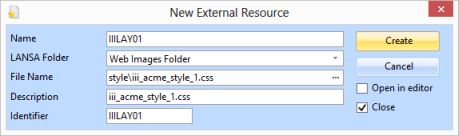
Enter the External Resource Name:IIILAY01 and use the Ellipsis button for the File Name to select your style sheet file. The LANSA Folder and Description will be automatically filled.
c. Click the Create button to save the new External Resource definition. You do not need to open it in the editor.
2. With your layout weblet open in the Design view, add the External Resource using the Web / Manage External Resource menu option.
At the same time also add External Resources for styles XWT08J and XWT08L101. These will add style sheets to set fonts, colors and background colors for your page contents to blend with the green header and footer being used by the layout.
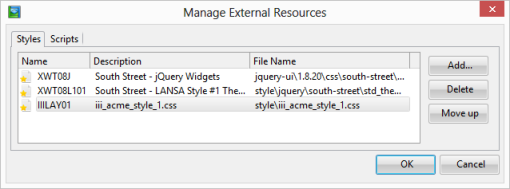
3. Delete the default theme external resources which were part of the default layout.
<wd:style name="XWT01J" />
<wd:style name="XWT01L" />
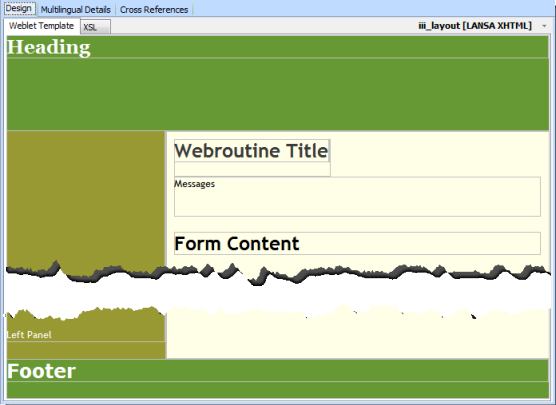
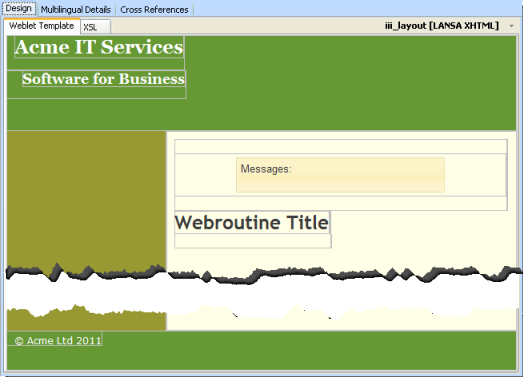
4. Save your changes. Your layout should now look like the following:
5. Remove the following text:
a. Delete this line, which was defined with a <div> which includes an inline style, in order to position the text where is would be shown and not hidden:
<div style="padding-top:400px">Left Panel</div>
b. Delete the following text, including any header tags associated with it (e.g. <h2></h2>)
Messages
Form Content
6. In the acme_header DIV replace the "Heading" text with the following. This may be copied from WAM Tutorials in the Web Application Modules guide.
<span style="padding-left: 10px">
<h1>Acme IT Services</h1>
</span>
<br />
<span style="padding-left: 10px">
<h2>Software for Business</h2>
</span>
7. In the acme_footer DIV replace the "footer" text with:
<span style="padding-left: 10px; padding-top:5px">© Acme Ltd 2011</span>
These changes use the <span> tag to position the text using inline styles. A better solution would be to give these span tags an id and control the appearance via the external stylesheet.
8. Save your changes and review your layout in the Design View.
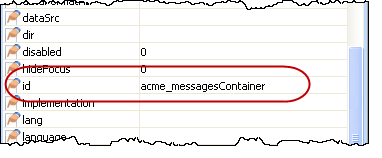
9. The DIV acme_messagesContainer is shown in the Design view as an outline box, above the webroutine title text. Select this area:
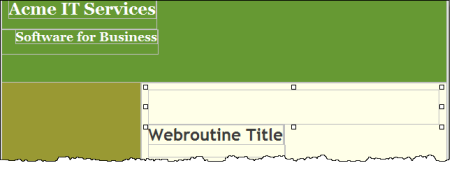
You can confirm you have the correct element selected by examining the Details tab, and checking the id.
From the Standard Weblets group, drop a messages weblet into the acme_messagesContainer DIV.
10. Save your changes
Your design should look like the following:
11. On the Favorites/Weblet Templates tab, select jQuery UI group from the top combo box.
The acme_header DIV is the top green box containing the text "Acme IT Services"
a. Select the acme_header DIV
b. Drop a jQuery UI Menubar into the acme_header DIV.
c. Select the menu bar, and use the right mouse on one of the "handles" to Insert HTML / Div. This will insert a DIV around the menu bar, which can then be given an id. An addition to the style sheet for this id, will then position the menu bar.
d. With the new DIV selected, select the Details tab and change the id to lpage_navBar.
e. Add the following style to your style sheet iii_acme_style.css and save the style file. This will override the LANSA styles for the idlpage_navBar.
#lpage_navBar
{
min-width: 396px;
min-height: 44px;
position: absolute;
top: 10px;
left: 550px;
}
d. Save the changes to your layout iii_layout.
12. With the menubar selected, set up the menuitems property on the Details sheet, using the Ellipsis button button to open the Design of… dialog. Define a top level menu only as:
|
Menu Item |
Action URL |
|
Home |
http://www.lansa.com |
|
Support |
http://www.lansa.com/support/index.htm |
|
Contact Us |
http://www.lansa.com/about/contactus.htm |
|
About |
http://www.lansa.com/about/index.htm |
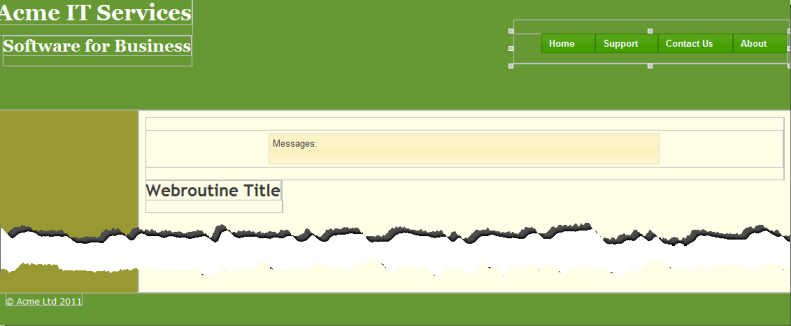
13. Save your changes. Your design should look like the following:
14. Your layout xsl:template currently contains some parameters which will not be used. Delete the following code:
<xsl:param name="width_type" select="'fluid'"
wd:type="std:layout_width_type" />
<xsl:param name="width" select="'1000px'" wd:type="std:css_length_unit" />
<xsl:param name="sidebar1_width" select="'20%'" wd:tip_id=""
wd:type="std:css_length_unit" />
<xsl:param name="content_width" select="'50%'" wd:tip_id=""
wd:type="std:css_length_unit" />
<xsl:param name="sidebar2_width" select="'30%'" wd:tip_id=""
wd:type="std:css_length_unit" />