Step 2. Set up the ShowPage web page design
WAM060 - Employee Maintenance using Advanced Weblets
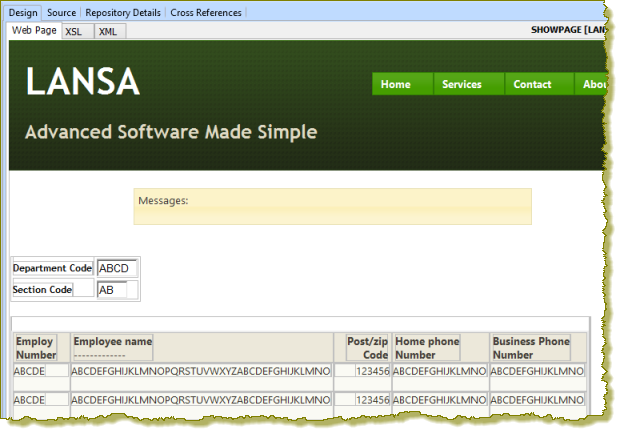
1. Open the ShowPage WebRoutine in the Design view.
It should look like the following:

2. Click anywhere in the table containing department code and using the context menu select the Table Items / add Columns… option, to add 3 columns.
a. Move the section code and its label into the 3rd and 4th columns (top row), using drag and drop.
b. Drop a push button with image into the 5th cell, top row
c. Click in the bottom row, and use the context menu, Table Items / Delete Row to delete this row.
d. Click in the cell containing the section code label, if necessary use the cursor keys to ensure you are in the table cell (<td> tag) and use the Details tab to change its class to caption.
e. Select the department code label and delete it. Type Department: into the cell
f. Select the section code label and delete it. Type Section: into this cell.
g. Select each of the new cells using the cursor keys, and delete the * place holder characters.
3. Select the push button and set up its properties on the Details tab:
|
4. Select the table and changes its Align property to center. You should be able to click on a corner of the table to select it.
5. Save your changes
Your page should look like the following:

6. Drag and drop a Dynamic Select Box onto the field DEPTMENT, set up its properties as shown:
|
7. Drag and drop a Dynamic Select Box onto the field SECTION and set up its properties as shown:
|
Complete the updateFieldsToSubmit property by clicking on the Ellipsis  button in the value column, to open the Design of….Property dialog.
a. Select DEPTMENT in the Name column.
b. Select the Field checkbox and enter DEPTMENT in the Value column.

8. Save your changes.
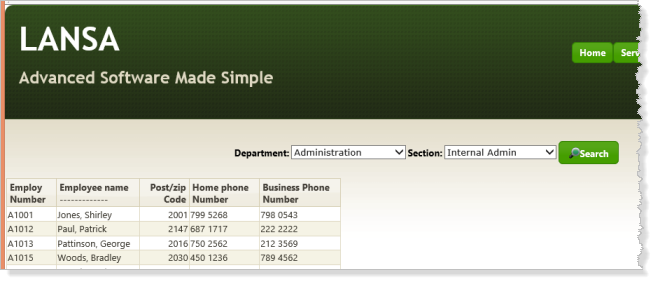
9. Execute the ShowPage WebRoutine in the browser.
- Changing selected department should refresh the section's dropdown list.
- The Search button should populate the list of employees.
