Step 2 Create Toolbar Weblet
From LANSA WAM
Step 2. Create Toolbar Weblet
WAM105 - Create Your Own Weblet
In this step you will create a second weblet to build your Toolbar weblet. This simply consists of a single row table with 4 cells.
1. As before, create a new weblet using New / Weblet, Name = iii_toolbar, Description = Toolbar, Group = Custom Weblets. Replace iii with your initials.
2. On the Details tab change the weblet name to iii_toolbar.
3. In the Design view use the context menu to Insert HTML / Table with 1 row and 4 columns.
4. Save your changes.
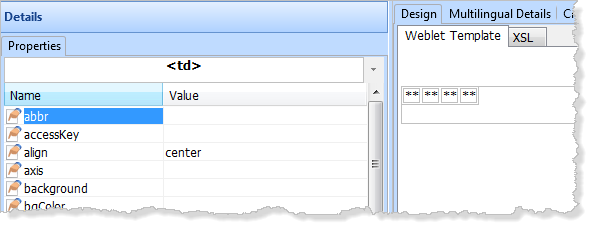
5. Select each cell in the toolbar table and use the Details tab to set it's align property to center.
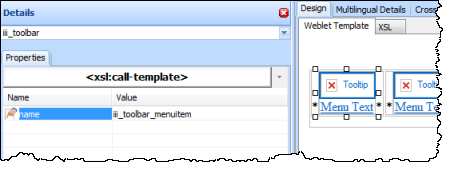
6. Switch to the Favorites / Weblet Template tab, find your iii_toolbar_menuitem weblet. First select Custom Weblets in the dropdown. If necessary use the View / Refresh Repository menu option to refresh the view in the Weblets Template tab. Drag and drop a iii_toolbar_menuitem into each of the four cells in the toolbar. Your toolbar should now look like the following in the Weblet Template design view.
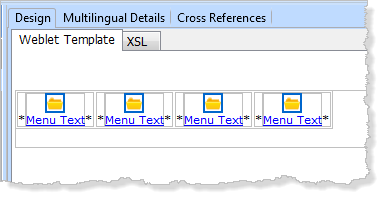
7. Use the cursor keys to position into each cell and delete the * place holder characters.
Save your changes.
8. Select one of the toolbar menu items and select the Details tab. Notice that at present, the menu items do not have any properties that can be set.