Step 1. Check in a WAM and its Layout
To compile and run your WAM on the IBM i, you will need to ensure that you have also checked in any dependent objects.
- Checking in a WAM also checks in the web page definition for each WebRoutine. The WAM layout will also be automatically checked in.
- You only need to check in a WAM layout once, or when it has been changed. You will find that LANSA V13 always checks in the WAM layout when you check in the WAM.
- When checking in a WAM, you should use the Cross References dialog to select and check in any dependent objects.
- If your WAM layout is based on a common company layout, you will check this layout in, the first time you check in a WAM which uses it, and whenever this common layout has been changed.
- Other definitions which you may need to consider are any custom weblets or External Resources which your WAM is using.
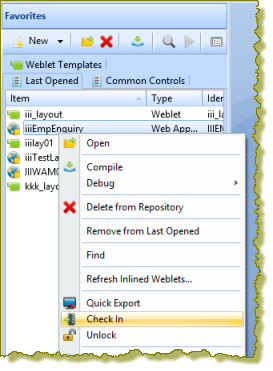
- You can check in using the context menu from the Repository tab, or from the Last Opened tab.
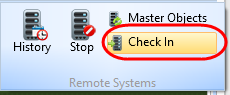
- With the WAM open in the editor, you can also check in from the Home ribbon / Remote Systems/ Check in button:
1. On the Repository tab find WAM iiiEmpEnquiry under Web / Web Application Modules. Use the context menu to Check In:
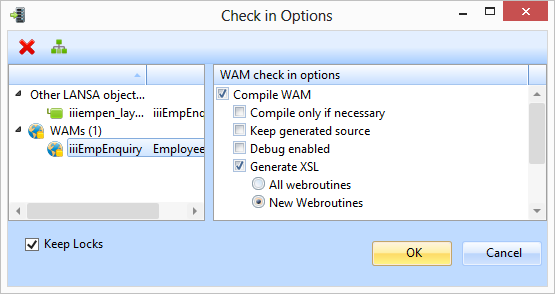
The Check In Options dialog opens.
2. Select the WAM layout to enable the  Cross References toolbar button. Click the toolbar button to open the Local Cross References dialog:
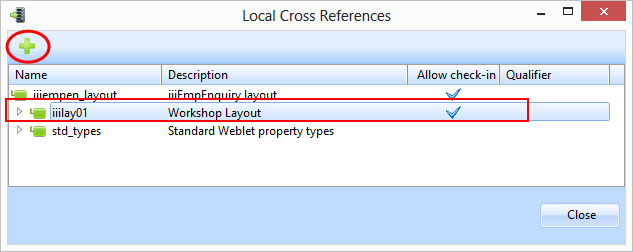
Select the common layout iiilay01 and click the  Add for check in button, to add it to the check in list of objects.
3. Click the Close button to close this dialog. Your check in dialog should look like the following:
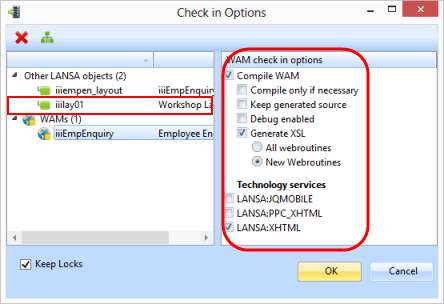
Note: The common layout iiilay01 has been added to the objects to be check in.
Ensure that the Check In options are as shown.
When you check in a WAM for compile the following steps occur:
- A C program for the WAM RDMLX code is generated and checked in.
- A compile job is submitted on the IBM i.
- The XSL Transformations for all WebRoutines are checked in for the Technology Services which are selected in the check in options.
- The WAM layout is checked in.
- As noted, you need to also check in any other dependent objects as appropriate.
- Your new WAM is locked to a Task Id. Usually this will be the Task Id you selected when you logged in the Visual LANSA. The lock is applied using your PC Name. If you select the Keep Locks option shown in the above dialog, Visual LANSA will keep the WAM locked using Task Id and PC Name and you could continue developing the WAM. See the Visual LANSA Administrator's Guide for further details on this subject.
4. Confirm the check in by clicking the OK button. The Check in information area will appear at the foot of the Editor window as shown in this example.
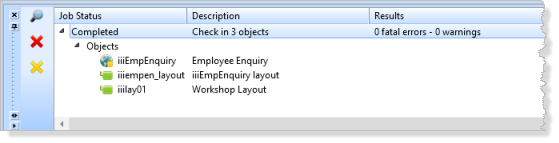
5. Review the check in information to ensure that no errors have occurred.