Step 1. Create Toolbar Menu Item Weblet
WAM105 - Create Your Own Weblet
In this step you will create a Toolbar Menu Item from which the toolbar will be built. If you have some basic HTML knowledge, then you will know that a menu item is essentially an <a> anchor tag that can have an href, image and alternate text elements etc associated with it. You should also know that in a WAM application an "href" will usually call a JavaScript function to call a WAM / WebRoutine.
1. Create a new weblet select New / Weblet in the Visual LANSA Editor.
a. In Name and Description, replace iii with your initials.
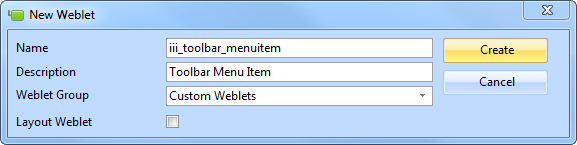
b. Select Custom Weblets as the Weblet Group.
c. Press Create to create your weblet and the Custom Weblets group. The weblet will open in the Design view.
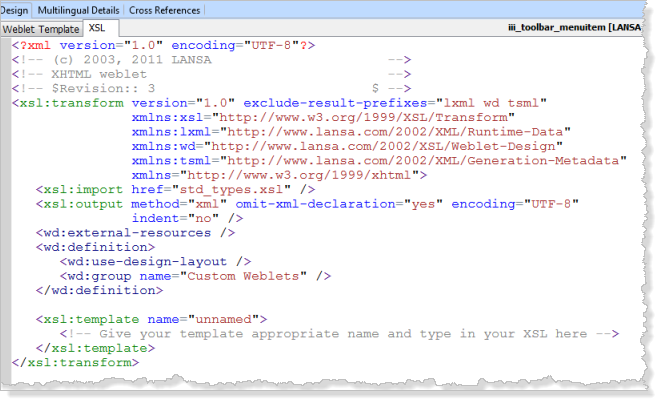
The XSL Source for your weblet should currently look like the following:
2. Select the Weblet Template tab and use the Details tab to enter a name of iii_toolbar_menuitem. Replace iii with your initials.
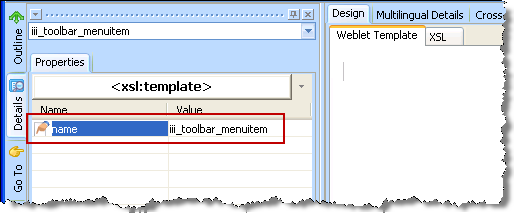
Save your changes.
3. You will now add the skeleton HTML code for the anchor tag, inside the
<xsl:template ....>…</xsl:template>, as follows:
Copy the following code <a href="jav...... code and paste it immediately following the lines:
New code is highlighted in red and italic.
<xsl:template name="iii_toolbar_menuitem">
<!-- Give your template an appropriate name and type in your XSL here -->
<a href="javascript:"> <img alt="Tooltip" src="/images/icons/normal/16/folder_16.png" />
<br />
<span class="std_menuitem">
Menu Text
</span>
</a>
In later steps you will complete this outline for the anchor tag code.
4. Click on the Save  button on the editor Toolbar to save your changes.