Step 1. Create the New Partition
It isn't compulsory to have a partition called LANSA Client Tutorial, but if you do, it will match the steps in the tutorial. In these steps the LANSA Client Tutorial(LCL) partition is created.
1. Start the Visual LANSA Development Environment. You can start Visual LANSA from the menu, and select  from the list or you start LANSA using the icon
  on your desktop. The desktop icon is created as part of the LANSA software installation.
2. Click on LANSA in the list or the icon to open the LANSA folder.
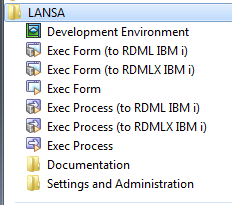
3. From the LANSA folder, click to start Visual LANSA. The Visual LANSA Logon dialog will appear.
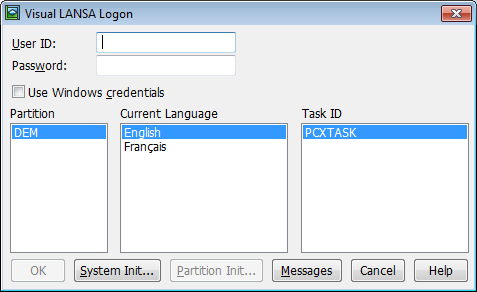
4. Log on to Visual LANSA. The LANSA Editor will be displayed.
5. From the LANSA Editor's tab, choose New and then .
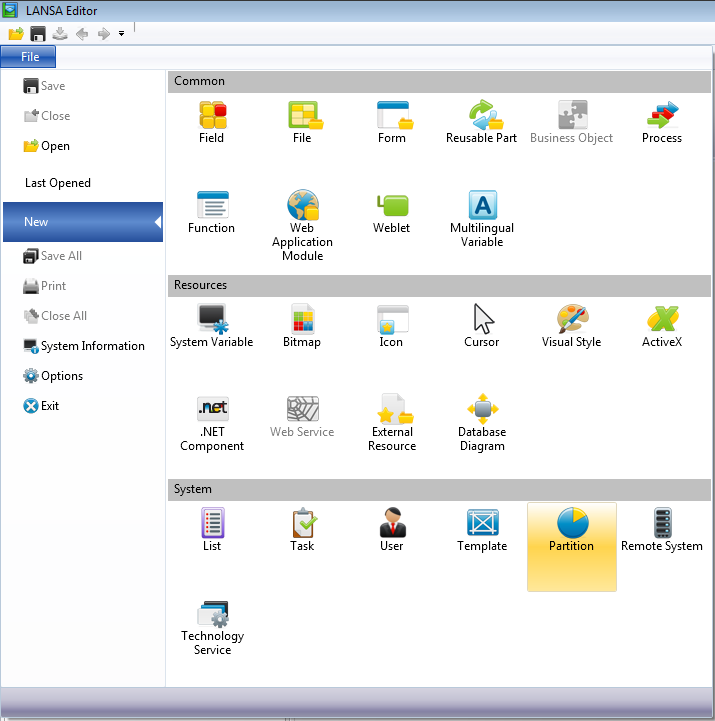
The New partition dialog box will be displayed.
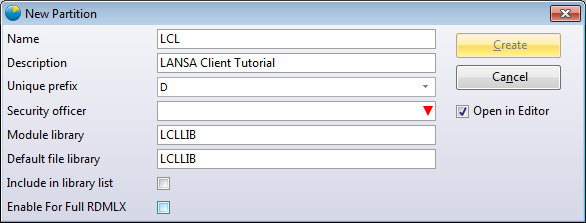
6. Enter the following in the New partition dialog box:
| Option | Enter |
|
Name |
LCL |
|
Description |
LANSA Client Tutorial |
|
Unique Prefix |
Accept the default |
|
Security officer |
Enter the security officer at your location. This is mandatory |
|
Module library |
LCLLIB |
|
Default library |
LCLLIB |
|
Include in library list |
Accept the defaults. |
7. Press when the details have been entered. Your new partition will be created. To use this partition, you will need to first exit from Visual LANSA.
If the button is greyed out, it could be that the partition already exists, so there is no need for you to create it.
8. Exit from Visual LANSA.