Step 1. Open an Existing Query
1. Select the menu choose the command. Alternatively, you could select the  icon on the Tool Bar, or use the accelerator key combination (Ctrl + O) that is shown beside the Open command.
The dialog box is displayed.
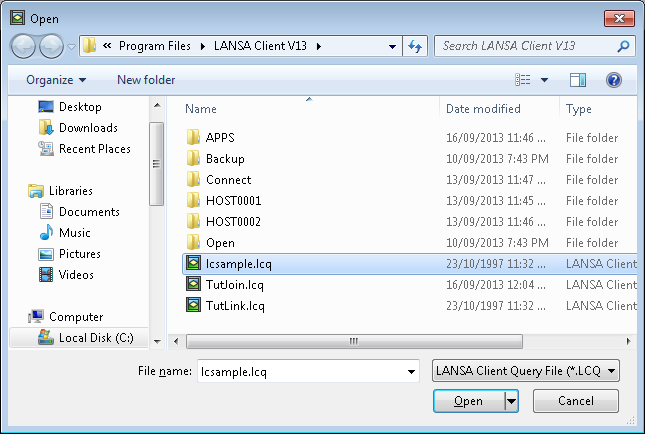
The dialog box contains a list of existing LANSA Client queries.
2. Select the , the Sample Query.
3. Press the button to open the Sample Query.
The Query window showing the is displayed.
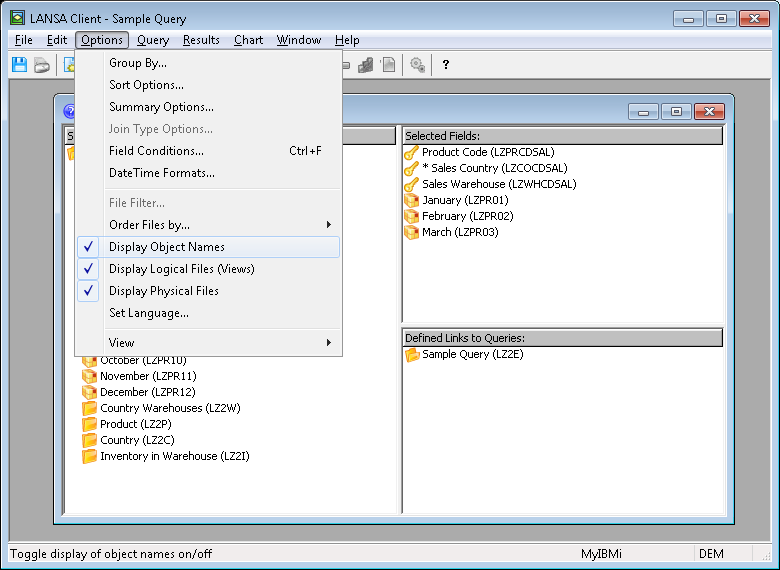
Note that in this window, the field and file names are displayed beside their field and file descriptions. To remove these names, from the menu, select and click on it to remove the tick. Your Query window will now look like this:
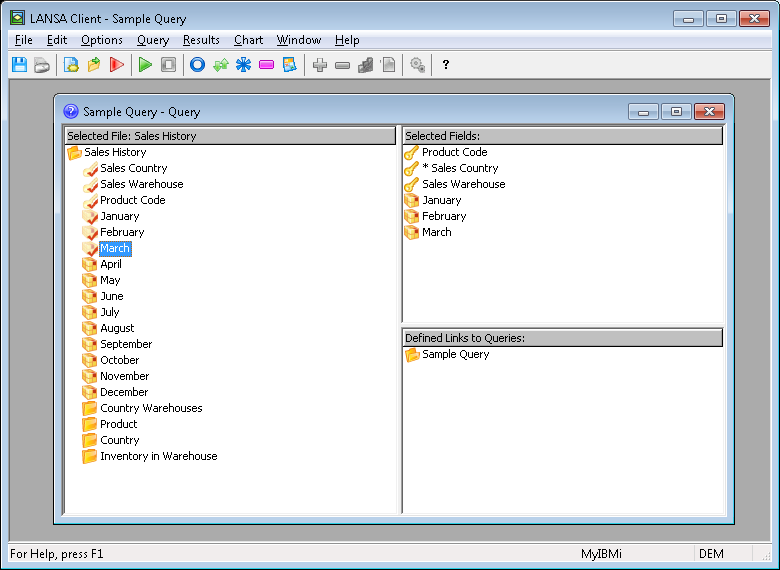
In the window, you will see the "definition" of the query that you have opened. That is,
in the area:
- the Name of the primary file selected for the query, in this case, the Sales History file.
- all the fields in the Sales History file.
- the fields selected for the query. They have a tick over their icon.
in the area:
- the fields that have been selected for this query.
in the area:
- the Sample Query. Only this query is displayed as there are no linked queries.
As you can see, the Sample Query will retrieve the Sales History for all Products for January, February and March.
4. Now go to Step 2. Attach Selection Conditions to the Query.