4 11 2 Insert Data
From LANSA Client
4.11.2 Insert Data
To insert a new record or row of data into the file displayed in the Results window, select the Results menu from the menu bar and choose the Insert Row command. A dialog box will be presented to you to insert the new data.
Note: When you are inserting new records, you should make sure that your query selects all the fields in the file. If you do not include all fields, the insert may fail because fields are missing in the new record.
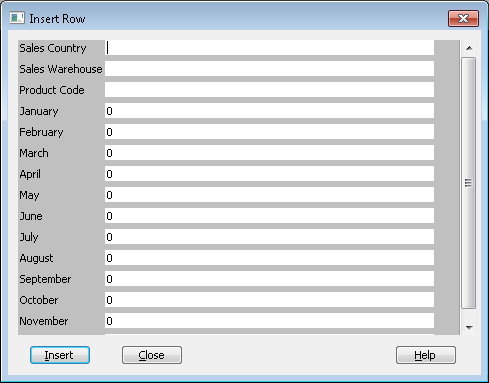
The entry fields in this dialog box are based on the columns in your current Results window. Each entry field will initially contain the default value defined for the field in the LANSA Repository.
If there are too many fields to be displayed at once on your screen, you will find a vertical scroll bar on the right hand side of the dialog box. Use this to scroll up and down through the fields.
When you have entered the details you require, select the Insert button or press the key. LANSA Client will attempt to insert the new record into the selected file. The LANSA Repository will determine if the new data contains any errors and if you are authorized to insert new records into the selected file.
You can insert as many records as you wish without having to return to the Results window. Once you have finished inserting the new records, select the button to dismiss the dialog box.
By selecting the and key combination, you can obtain help about the fields you are creating from the LANSA Repository.
Further Information