Step 5. Save the Linked Query
1. Select the menu and choose the command. Alternatively, you could select the  Save icon in the Tool Bar, or use the accelerator keys (Ctrl +S).
The dialog box is displayed.
2. Give the query a file name, such as TUTLINK.LCQ in the .
3. Press the button to save the query. You will be returned to the Query window.
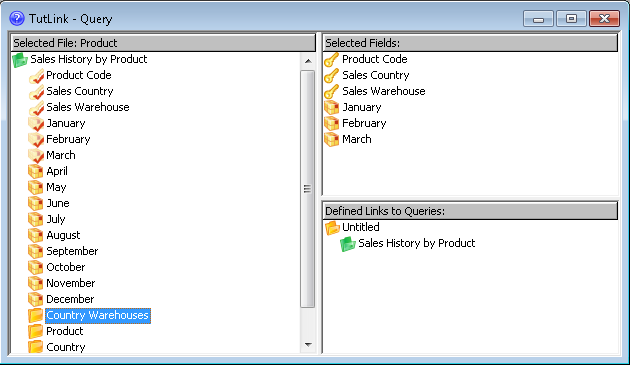
Have you noticed that the name of the primary query in the Defined Linked Area now has the Query Description you have entered?
You have just created and saved a linked or drill down query, from the Product file to the Sales History by Product file.
4. Now, run your query, as described in Step 6. Run the Linked Query.