Step 6. Customize the Chart
1. Select the menu and choose the command. Alternatively, you could select the  icon on the Tool Bar.
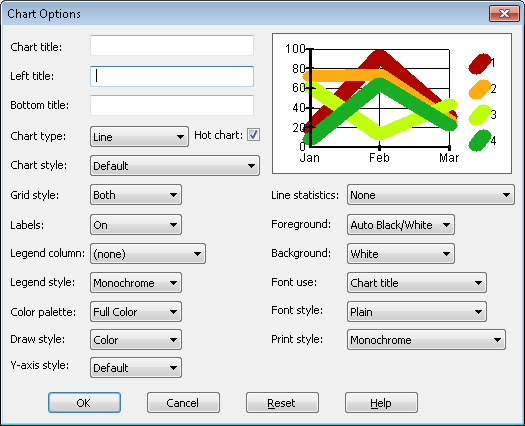
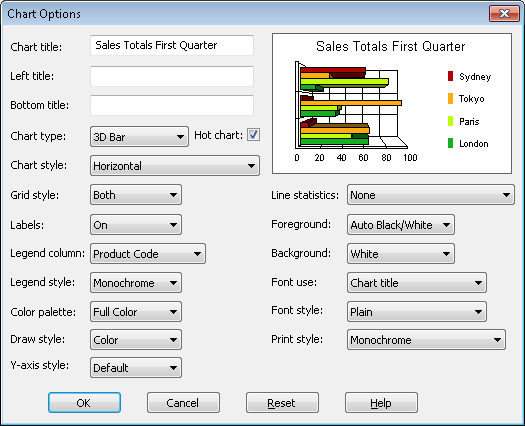
The dialog box is displayed.
2. In the Chart Options dialog box, change as many details of the chart as you would like. For example:
- Change the title of the chart by typing Sales Totals First Quarter in the Title box.
- Change the chart type to a 3-dimensional Bar chart by selecting the 3D Bar Chart from the Chart Type list.
- Change the 3D Bar chart to Horizontal by selecting Horizontal from the Chart style list.
- Select the Product Code for the Legend.
Have you noticed that each time you change an option associated with the chart, the sample chart displayed in the right hand corner of the dialog box reflects the new option?
3. Continue to change options to see the effect.
4. When done, press the button. You are returned to the Chart window.
Note that the Chart window now displays your new options.
5. Retain this chart as a 3-dimensional Bar chart for the next step, Step 7. Use the Hot Chart Facility.