Step 3 Apply the Conditional Hides
From LANSA WAM
Step 3. Apply the Conditional Hides
WAM070 - Hiding Techniques
In this step, you will conditional hide the dropdowns using different techniques.
1. Set the hidden class for the first dropdown list.
Set the first Dropdown's property to #CLASSHIDE. The WAM's RDML conditions this field to contain either *blanks or 'hidden'.
Note: Select the property value and then use the to enter #CLASSHIDE.
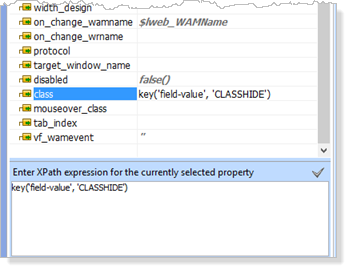
Click the ![]() icon to confirm this change. Note that the XPath editor has added the required XSL expression:
icon to confirm this change. Note that the XPath editor has added the required XSL expression:
key('field-value', 'CLASSHIDE')
2. Set the hide_if condition for the second dropdown list.
Select the property value and use the window to define the condition #HIDEIF = 'HIDE'. Press the ![]() button to confirm this change.
button to confirm this change.
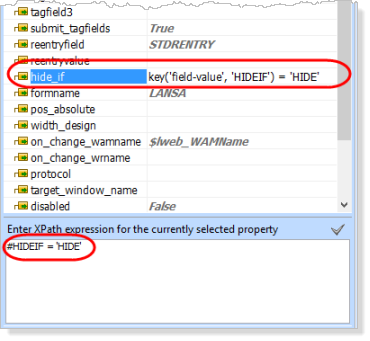
Note: The field name must be entered in upper case.
Once again, the field is conditioned in the WAM's RDML, and when the condition specified in the property is true, the object will be hidden.
3. Set the xsl:if.
a. Select the third combo box.
b. Select the tab. The block of code that generates the selected item will be highlighted.
You must enclose this highlighted code within the xsl:if tags. The syntax for the xsl:if is:
<xsl:if test="test">
code to be hidden
</xsl:if>
Where is the condition on which the code will be hidden.
c. Enclose the code for the third dropdown with the xsl:if condition. The condition to hide is when #XSLIF is 'HIDE', so will be key('field-value', 'XSLIF') != 'HIDE'.
That is, output the combo box to the page if XSLIF is not equal to 'HIDE'.
The XSL code should look like the following. New code is shown in red.
<xsl:if test="key('field-value', 'XSLIF') != 'HIDE'">
<xsl:call-template name="std_dropdown">
<xsl:with-param name="name" select="concat('o', position(), '_LANSA_28762')" />
</xsl:call-template>
</xsl:if>
Using the XSL Editor
The editor has autocomplete functionality. As you type, press enter to select the prompted code. Once you complete the <xsl:if with the > character, the end if (</xsl:if>) will be generated. Move the "end if" logic after the </xsl:call-template>.
Note: If you click on the tab or try to save your XSL while your xsl changes contain errors, the errors will be reported on the tab as shown in this example. In this case, there is a missing double quote at the end of the test condition.
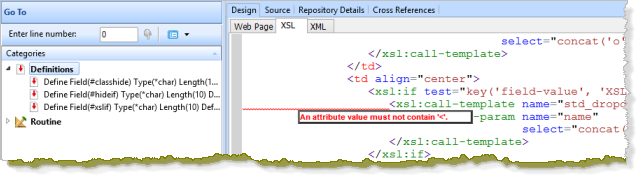
Note that the line in error is highlighted.
Attempts to save xsl with errors may also show these dialogs:
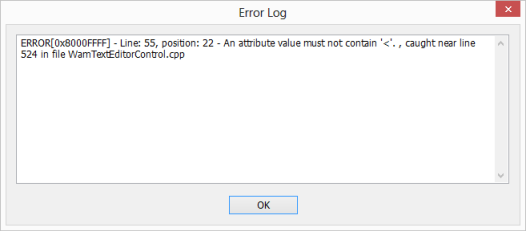
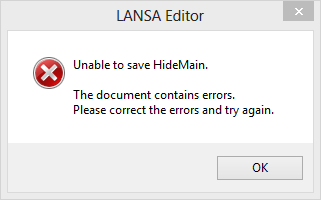
4. Press OK, to continue editing your XSL. In this case, the error is a missing double quote at the end of the test condition.
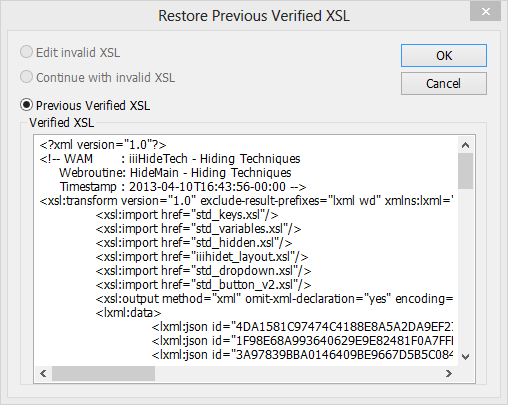
On the ribbon, you can use the Restore XSL dialog to restore the previous verified XSL or continue editing.
5. If necessary, correct any errors in your XSL and save the changes to the HideMain web page.