Step 6. Design the web pages
WAM085 - Enhancing the User Interface
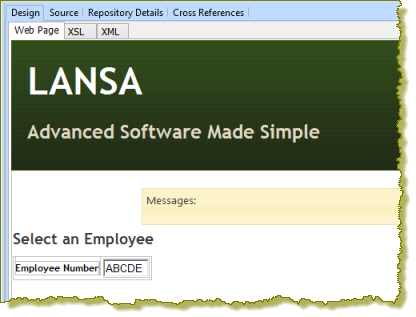
1. Open the select WebRoutine in the Design view. It should look like the following:
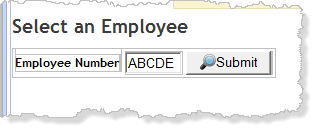
2. Add a column to the table containing employee number and drop a weblet into the new cell. Delete the placeholder characters. Set up the push button as follows:
|
Your page should look like the following:
3. Drop an weblet onto the Employee Number field and set up its properties as follows:
|
Note that if the WAM iiiEmpAutoCmpl is open in the editor, you will be able to select all of these values from a dropdown.
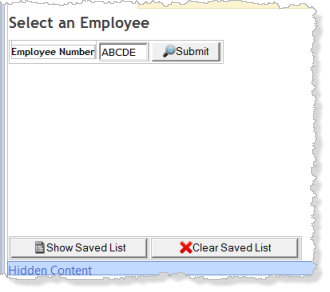
4. Use the context menu to Insert HTML / Table with one row and two columns, below the existing table. Use the cursor keys to move to the left of this new table and press a number of times to position this table towards the bottom of the central area of the screen.
5. Add a push button with images into each cell of the new table. Set up the push buttons as follows:
|
|
Your web page should look like the following:
6. Save your changes.
7. Open the ShowPage WebRoutine in the design view. Your web page should look like the following:
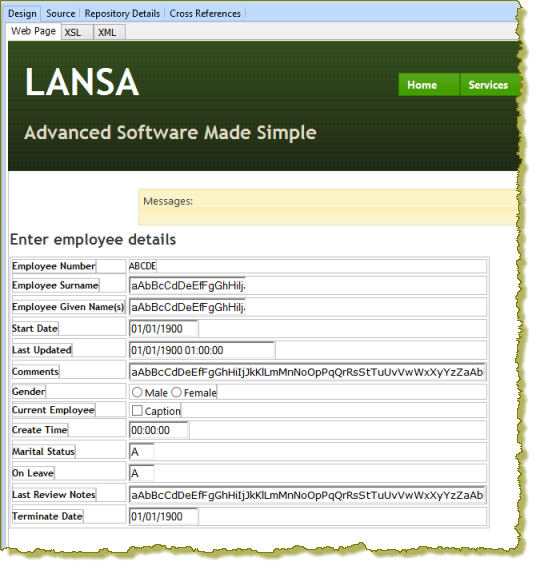
a. Note that Start Date, Last Updated, Comments, Gender, Current Employee and Create Time are all shown as weblets. For example click on the Start Date field and select the Details tab. Note that this is the std_datepicker weblet.
These weblets are all defined as weblet field visualizations in the .
b. Select Last Review Notes and then Terminate Date and check their definition using the Details tab. Notice that they have also been defined in the web page as weblets (std_varchar and std_DatePicker respectively) based on their field type. These are fields you defined in the WAM.
c. The single character (Alphanumeric) fields Marital Status and On Leave are input fields. In the view you will replace these with weblets.
8. Select the field Start Date and set up its properties as follows:
|
You will be able to see the effect of these settings once you test the WAM.
Change the property to be correct for your region. mm/dd/yyyy is the default value.
Also change the for fields Terminate Date and Last Updated to suit your region.
9. Select the Comments field and set up its properties as follows:
|
Note that the Comments field is now a memo box.
10. Select the Current Employee checkbox and change its caption to ''. The caption should now be blank.
Note that the and properties for the check box weblet are values of Y and N which are correct for this field. These values could be changed if necessary.
11. Drop a weblet onto the field Marital Status. On the tab, in the property's value column, use the button to open the dialog to define three captions and values as shown:
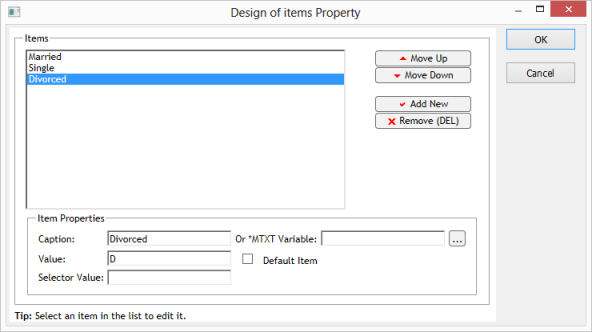
|
12. Drop a weblet onto the On Leave field and set its caption to ''.
Once again the default and values are suitable for this field.
13. Select the Last Review Notes field (std_varchar weblet) and set its properties as for the Comments field in sub step 9. Select the Comments field and set up its properties as follows:.
14. Select the Terminate Date field (std_DatePicker weblet) and set its properties as for the Start Date in sub step 8. Select the field Start Date and set up its properties as follows:.
15. Save your changes.
16. Drop a weblet into the bottom right of the table, next to the Terminate Date field. Set up its properties as follows:
|
17. In this step you will add a link to the Show Saved List page to return to the Select Employee Number page.
a. Open the showlist WebRoutine in the Design view.
b. Drop a onto the page, below the list.
c. Set up the push button properties as follows:
|
Note: The property for the DatePicker weblet, will be correct for most applications. The date format will be determined by the partition's ISO Language setting. For the UK this should be en-GB since en will give DD/MM/YYYY.
18. Save your changes.