Step 7. Use a Weblet
WAM005 - Create Your First WAM
In this step, you will learn how to drag and drop Weblets onto the web page. The Weblets will each be configured to call the WebRoutine with a different reentry value.
1. Make sure is in the Design view.
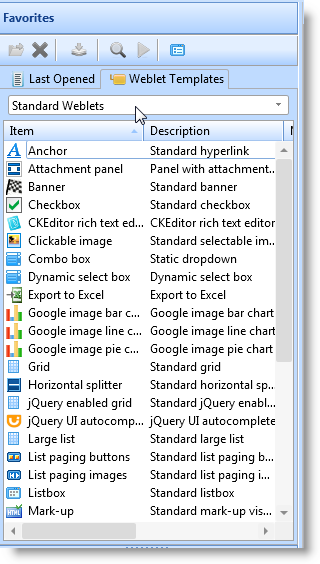
2. Select the Favorites/ in the left pane to see a list of all the Weblets in your repository. (Make sure that Standard Weblets is specified in the dropdown list so that all standard Weblets are listed.)
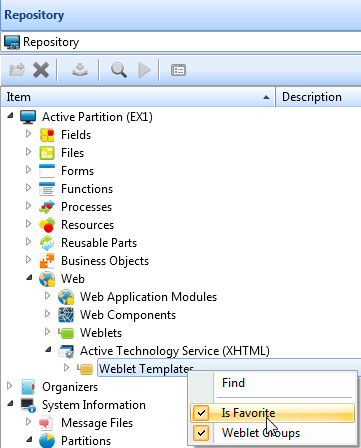
Hint: If is not shown on your tab, select the tab and expand and then use the right mouse menu to make a .
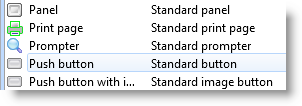
3. Select the Weblet from the list and drag and drop it into the cell that is to the right of the "Push Button" caption in the table in .
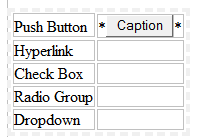
4. Select the button and display the tab in the left pane to display the Weblet's properties. The italicized and gray values indicate default values.
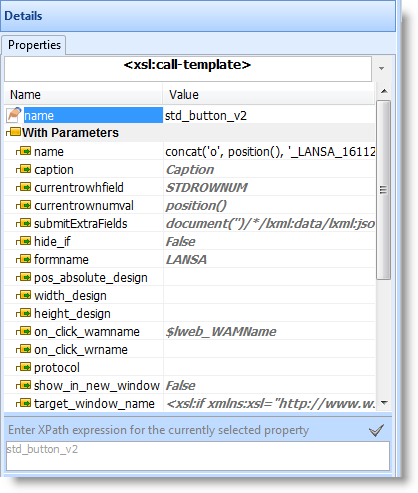
In the , click in the value column of the property and type in Press Me.
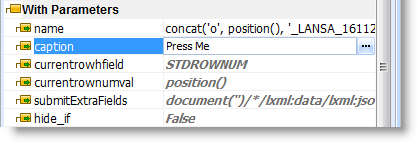
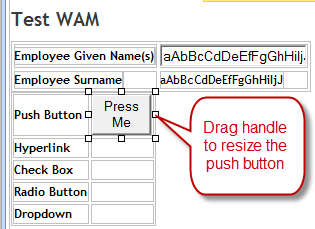
The button's caption will immediately change to Press Me.
If necessary, drag the right handle on the push button so that the caption is displayed as a single line.
Set the property to ReentryTest by selecting this value from the value dropdown.

Note:
You should always use the dropdown list to select this property rather than type it in, as spelling mistakes or typing errors are one of the biggest causes of problems at design time.
Always complete the property before the next step. The dialog uses the WebRoutine defined in the property to populate the list of mapped fields in the dropdown list.
c. Click on the property and then click the button to open the …. dialog.


d. Select the field STDRENTRY in the left hand field.
e. Enter a value of A, in the column, leaving the checkbox selected.
f. Click to confirm your changes and close this dialog.
Note: The fields shown in the dropdown for the Name column in the dialog are the fields mapped for *INPUT or *BOTH for the WebRoutine which is defined as the property for this weblet.
In , if you specify a:
- Literal value, you are returning a fixed, hard coded value for this field when this button is clicked.
- Field, you are returning the field value when this button is clicked.
5. In the , click on the table cell where the Push Button weblet was dropped. Again, make sure that you select the cell and not the button. Delete the asterisks in the cell by placing the cursor in the cell next to them and using the backspace key.
Hint: With the push button selected you can use the to move left or right into the table cell.
6. In the , set the property of the cell to right.

7. Now add the remaining Weblets by selecting them in the and dragging them into the appropriate right hand cell based on the left hand cell label. The Weblets you will use are the Anchor, Check Box, Radio Group and Combo Box.
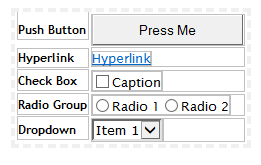
8. All of the remaining weblets have default of STDRENTRY for their property. Set the property for each of these Weblets. Check the RDMLX to see what value should be used for each weblet. For example:
When Value_Is(= B)
Message Msgtxt("Hyperlink was clicked.")
9. Set the property for the anchor, check box and radio group to ReentryTest.
10. Set the property for the combo box to ReentryTest.
Notice that you are not required to change the or . By default these values will be the WAM name that initiated the web page.
11. Set the property for the anchor to Click Me.
12. Set the property for the check box to Click Me.
13. Set the property for all of the cells containing weblets to right.
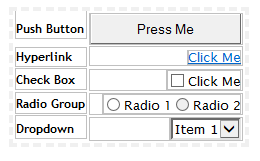
Your page should now appear as follows:
