Step 6 Editing
From LANSA WAM
Step 6. Editing
WAM005 - Create Your First WAM
In this step, you will perform some simple editing tasks in the Design view and preview your changes in order to become familiar with the Editor. You will add a table, add text and Weblets to the table and set the Weblet's parameters.
1. Make sure you are in the by clicking on the tab. To insert the table into the :
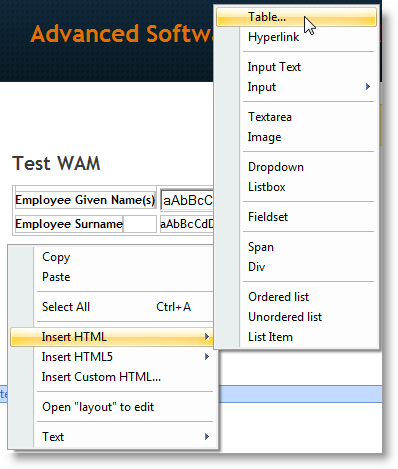
a. Right-click the mouse in the middle of the page, under the table that was generated from the compile, to open the context menu:
b. Select from the context menu and choose the sub menu item:
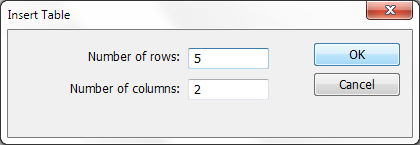
c. Create a table with 5 rows and 2 columns in the dialog box. Press .
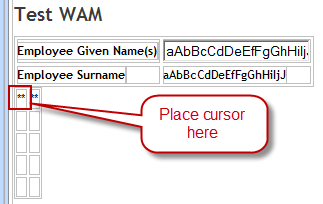
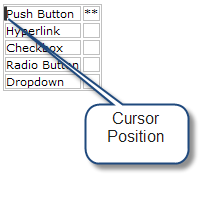
2. Place the cursor into the top, leftmost cell of the new table in the .
3. Type the text "Push Button" into the first cell of the table. This column will be used as labels for the weblets that will be added to the second column.
4. Now that this column has an entry you can delete the placeholder "*" characters from the first table cell by placing the cursor next to them and using the button.
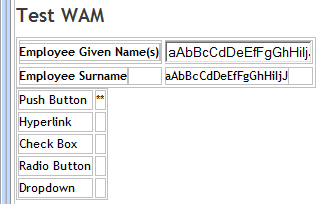
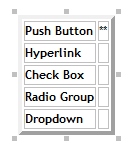
5. Insert the names of the other Weblet labels in the four remaining blank rows of the left column: "Hyperlink", "Check Box", "Radio Group" and "Dropdown". There is no need to include the quotation marks.
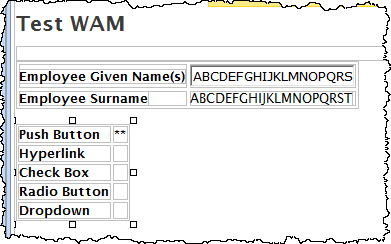
Your will now appear something like this:
6. In the , select the top left cell again by clicking in it. (That is, the table cell containing the text "Push Button".) There should be no "Grips" around anything at this point and the cursor should be blinking inside the cell.
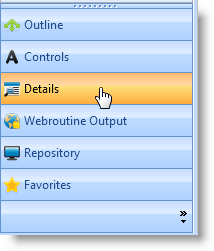
7. Select the in the left pane:
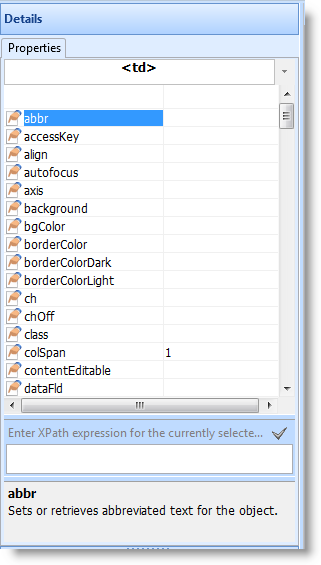
You will now see all the properties of the table cell:
8. Click the button on the tab and make sure the option is selected and that the are not selected
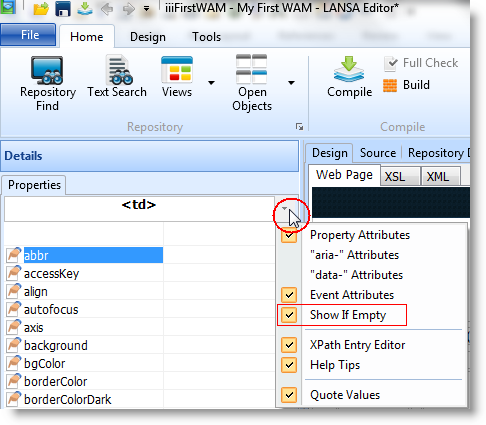
The option displays properties for the cell which currently do not have a value.
9. In the , locate the property.
a. Click in the column and use the dropdown list to set the property to bold and press :
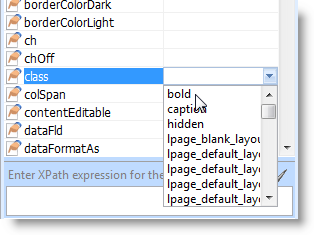
The text will immediately become bold. What you have done is applied one of the caption styles provided with the Cascading Style Sheet (CSS) shipped with the LANSA product. The default style is not bold.
b. Set the property to bold for the remaining cells in the left column.
The view should appear something like the following:

10. Click the button to save your changes to :
![]()
11. Select the new table by clicking on one of its corners:
A selected web page element is displayed with "handles" as shown in the screen picture.
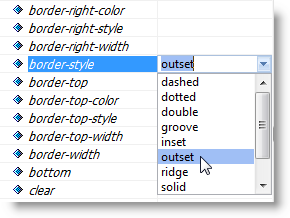
12. Scroll down to the property. Style is a composite property consisting of other properties.
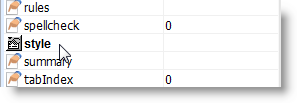
13. Click on the icon to the left of the property to expand the style's individual properties. You can modify these properties directly.
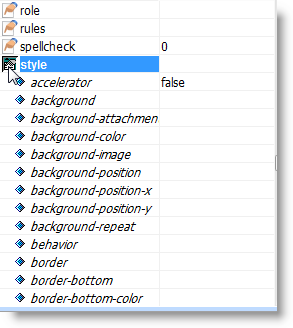
14. Scroll down to style's property. Select outset from the dropdown list. Click on another property and you should immediately see the border of the cell change to an outset appearance.
15. Experiment by changing other properties, such as the background color, or inserting other HTML elements into the page. Using styles in this way sets an inline style for the HTML element that you are editing. You will usually want to control styles via a Cascading Style Sheet (CSS). Refer to exercise WAM100 - Using Cascading Style Sheets for more information about CSSs.
16. Right-click the web page design and select from the context menu to remove the changes made in 14.
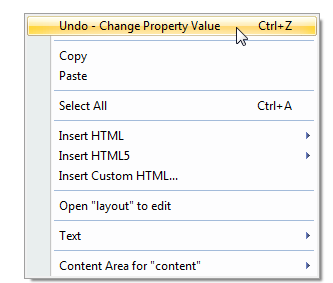
Alternatively, you could also have used the Ctrl+Z keys to undo.