6 17 7 Creating a Popup Menu
From Visual LANSA
6.17.7 Creating a Popup-Menu
Pop-up menus are displayed when the user selects a component and clicks the right mouse button. They are typically used to create shortcuts to options commonly associated with a component.
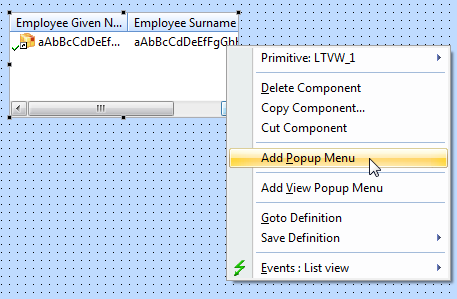
To create a pop-up menu open the Menus group in the Groups tab of the Repository tab. Drag a pop-up menu to the component you want to associate it with. Alternatively, right-click a component to bring up its pop-up menu and select the Pop-up Menu option. An edit box where you can enter the captions of the menu items is displayed on the top of the Design view.
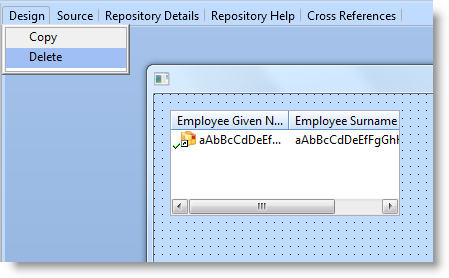
Enter the captions of your menu items in the edit box. To add a item, press the Enter key.
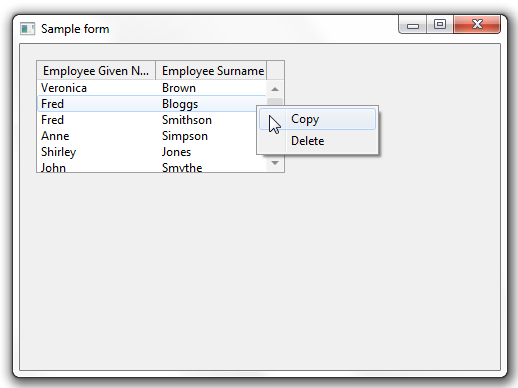
At run time when the user right-clicks the field the pop-up menu is displayed:
To edit the pop-up menu after you have created it, right-click the component it is associated with and choose the Edit Popup Menu option. Alternatively, select the pop-up menu in the Outline tab.
Note that when you are creating a pop-up menu for a field, you can add automatically enabled options for Cut, Copy and Paste. These options allow the end user to cut, copy and paste the value of the field.
If you want to use any of these automatic options, use the AutoActions property of the pop-up menu. (In the current version only these three autoactions have been implemented and they only apply to fields).
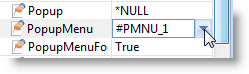
The pop-up menu and the component are associated using the PopupMenu property of the component. You can use this property to assign a pop-up menu to another component:
Note that you can use the same pop-up menu with more than one component. For example in a explorer-type interface (a tree view on the left and a list view on the right), you would typically use just one pop-up menu:
DEFINE_COM CLASS(#PRIM_TRVW) NAME(#TREEVIEW) POPUPMENU(#PMNU_1)
DEFINE_COM CLASS(#PRIM_LTVW) NAME(#LISTVIEW) POPUPMENU(#PMNU_1)
Then for every single menu item in the pop-up menu, you would write the code to perform an action depending on the type of item selected. In this example the tree view key columns are sourced from the #DEPTMENT and #SECTION fields, and the list view key column is sourced from the #EMPNO field:
EVTROUTINE HANDLING(#MiDetail.click)
if '#empno *ne *blanks'
invoke #EmpForm.activateForm
set #EmpForm emp_value(#empno) emp_dept(#deptment) emp_sect(#section)
else
if '#section *ne *blanks'
invoke #SecForm.activateform
set #SecForm dept_value(#deptment) sect_value(#section) top(#std_num)
else
if '#deptment *ne *blanks'
invoke #DeptForm.activateform
set #DeptForm dept_value(#deptment)
endif
endif
endif
ENDROUTINE