|
Semantics
A node is a run-time physical object that represents a computational resource, generally having at least a memory and often processing capability as well, and upon which components may be deployed.
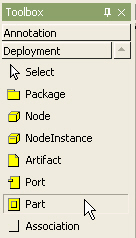
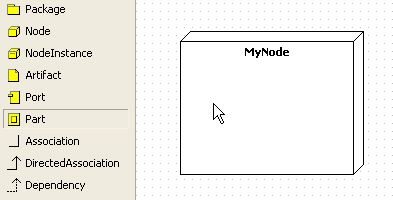
Procedure for creating node
In order to create Node in deployment diagram,
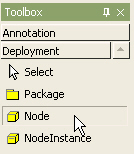
| 1. | Click [Toolbox] -> [Deployment] -> [Node] button. |
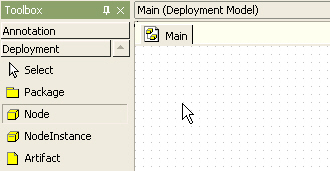
| 2. | Click at the position where Node will be placed in the [main window]. |
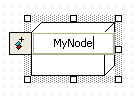
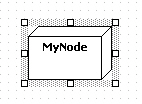
| 3. | Then node is created and the quick dialog appears. Enter the node name at the quick dialog. |
Procedure for adding deployed component
In order to add deployed component to node
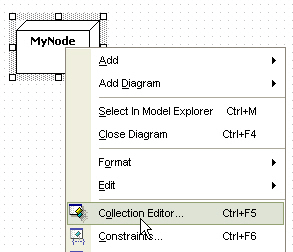
| 1. | Select [Collection Editor...] popup menu of node. |
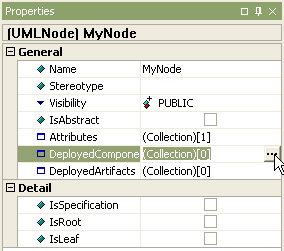
| 2. | Or click  button in [DeployedComponents] property on properties window. button in [DeployedComponents] property on properties window. |
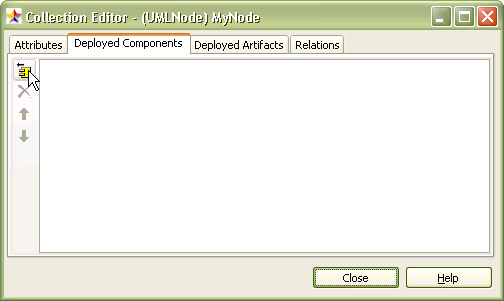
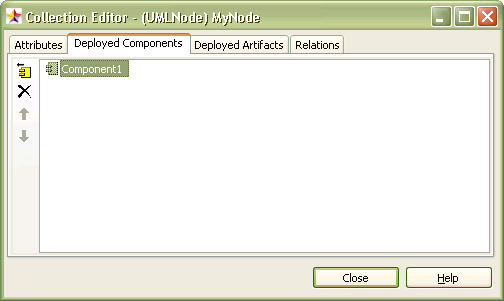
| 3. | At the [Deployed Components] tab of the [collection editor], you can add deployed component by using  button. button. |
| 4. | At [Select the Component to deploy] dialog, select deployed component. To select component, you have already made some component. |
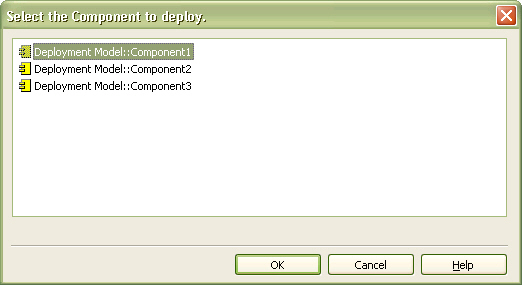
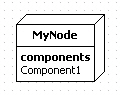
| 5. | And click OK button. Then deployed component is added to the node. |
| 6. | The node is shown as following. |
Procedure for adding deployed artifact
In order to add deployed artifact to node,
| 1. | Select [Collection Editor...] popup menu of node. |
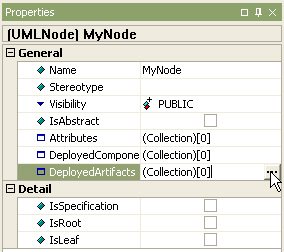
| 2. | Or click  button in [DeployedArtifacts] property on properties window. button in [DeployedArtifacts] property on properties window. |
| 3. | At the [Deployed Artifacts] tab of the [collection editor], you can add deployed artifact by using  button. button. |
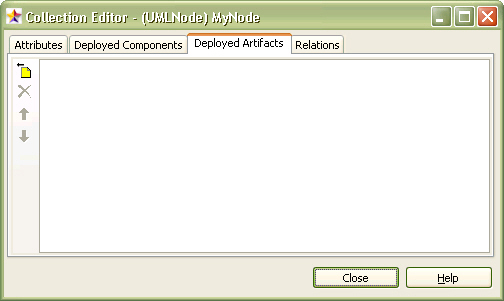
| 4. | At the [Select a Artifact] dialog, select a deployed artifact and click [OK] button. |

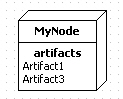
| 5. | Then the artifact is add to the node and the node is shown as following. |
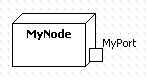
Procedure for creating port
In order to create port on a node,
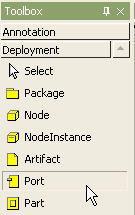
| 1. | Click [Toolbox] -> [Deployment] -> [Port] button. |
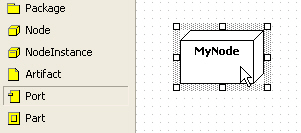
| 2. | Click the node where the port will be contained in the [main window]. |
| 3. | A port is created on the node and the quick dialog appears. Enter the port name at the quick dialog. |
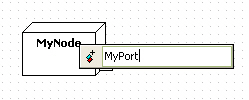
| 4. | And press [Enter] key. The result is like the following. |
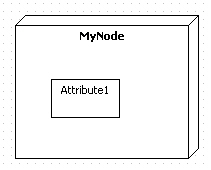
Procedure for creating part
In order to create part on a node
| 1. | Click [Toolbox] -> [Deployment] -> [Part] button. |
| 2. | Click the node where the part will be contained in the [main window]. |
| 3. | Finally, a part is created on the node as following. |
Procedure for creating connector
In order to create connector between two parts,
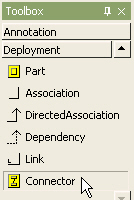
| 1. | Click [Toolbox] -> [Deployment] -> [Connector] button. |
| 2. | Drag from one part and drop to the other part in the [main window]. |
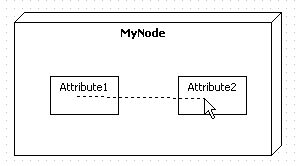
| 3. | The result is as follows. |

|