Step 6. Binding Deployment and Configuration
INT005 - Department Inquiry Bindings
In this step, you will deploy the jar files and make other configuration changes using Integrator Studio.
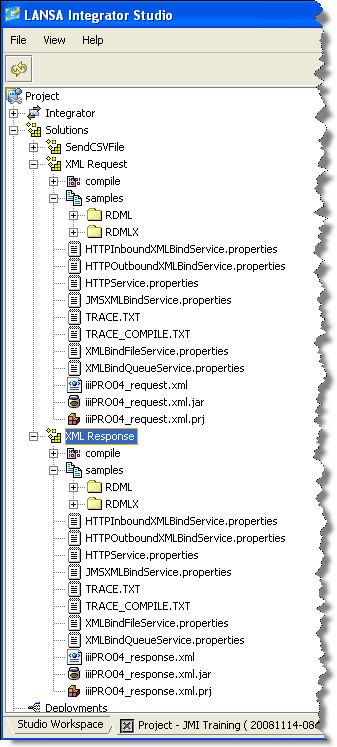
1. Using the Integrator Studio, review the files in your project.
a. From the root Project (iii Training), expand the folder. You should see and folders.
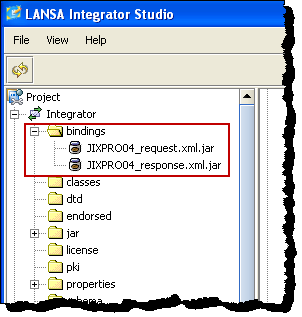
b. Open the and folders. You should see your XML files and project files as well as the generated jar files for your bindings
2. In this step you will add a section for your project into the properties file on the server.
In exercise INT004 you have already defined your JSM Server. This may point to http://localhost:4561 if you are using a local web server and JSM server. If you are using an IBM i server this will point to a server name or an IP address such as http://10.44.10.236:4564.
a. Select the server you are using and use the right mouse menu to .
b. Once the JSM server has opened, you will see a second panel appear on the right hand side. This shows all the directories and files for the JSM server instance that was just opened.
3. Your application will use the .
This means that configuration entries need to be added to the properties file for this service. (The property file is named HTTPInboundXMLBindService.properties. Typically it is located in your JSM server in the /instance/properties directory).
First, you will use to create an section in your project. You will then edit this entry and the use to update the properties file on the server.
a. Open the folder in the right panel (i.e. in the JSM server instance).
b. Scroll down and locate the file. Right click on the file and select the option in the pop-up menu. A message will be displayed, "No project component properties found in properties HTTPInboundXMLBindService.properties" because there is no project specific data in the file at this time. Click .
An HTTPInboundXMLBindService.properties file will be created in your local folder.

c. Open the Integrator/ folder in the left panel (i.e. your local directory). Right click on the file and select the option from the pop-up menu.
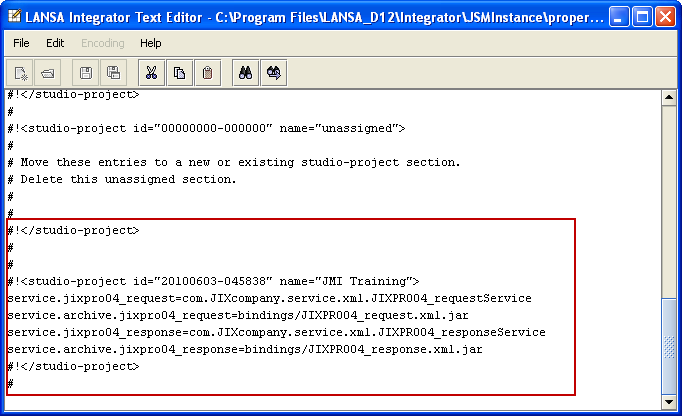
d. An edit window will appear. The HTTPInboundXMLBindService.properties file will be empty. You will now add the following entries to the file:
service.iiipro04_request=com.IIIcompany.service.xml.IiiPRO04_requestService
service.archive.iiipro04_request=bindings/IIIPRO04_request.xml.jar
service.iiipro04_response=com.IIIcompany.service.xml.IiiPRO04_responseService
service.archive.iiipro04_response=bindings/IIIPRO04_response.xml.jar
The build step for the inbound and outbound HTTP XML bind service has created the entries you need. Copy these entries as follows:
- Leave the first open
- Expand the folder and open HTTPInboundXMLBindService.properties in the . Copy the code and paste it into . Close the second editor
- Expand the folder and open HTTPOutboundXMLBindService.properties in the editor. Copy and paste the code into . Close the second editor.
- Save your changes in and select Yes in the confirm dialog. Close the .
Note: the java path is case sensitive. Note also that in the example shown, the build has capitalized the name of the service e.g. IiiPRO04_responseService. This is a Java standard and cannot be changed. Throughout this workshop, you should be aware that your service names will begin with a capital letter. If this point is overlooked, your function will fail on the BIND.
e. Update the file on the JSM Server. Right click on your local file (on the left side, in ) and select the option from the pop-up menu. A message will ask you to confirm publish. Select Yes. You have added a section for your project to the HTTPInboundXMLBindService properties file on the server.
If you open the file from the server and scroll to the end, it should now look like the following:
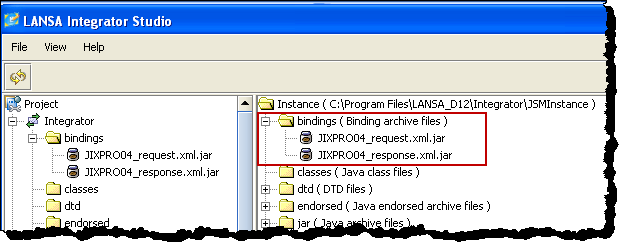
4. In this step you will deploy the jar files to the server.
a. In the left hand panel (your project) expand the folder and select the iiiPRO04_request.xml.jar file.
b. Using the right mouse menu, select .
c. Repeat step a and b to send the iiiPRO04_response.xml.jar file from folder to the folder
d. In the left panel, expand the / bindings folder.
e. You should now see the jar files that you sent to the folder. One at a time, right click on each jar file in the folder and select . Select Yes in the dialog.
f. In the right window pane, expand the \Instance\bindings folder. You should now see the jar files that you have published.