Step 3. Build the SOAP Agent Solution
INT010B - SOAP Service - Define Agent
In this step you will build the solution and then review the files that LANSA Integrator has generated.
1. With the tab still displayed, click the  button on the toolbar.
When the build has been completed, the following message is displayed.
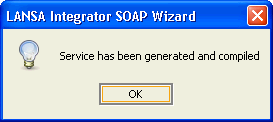
2. Click to continue.
3. Exit the .
You are returned to the LANSA Integrator Studio. The tab for your project is displayed.
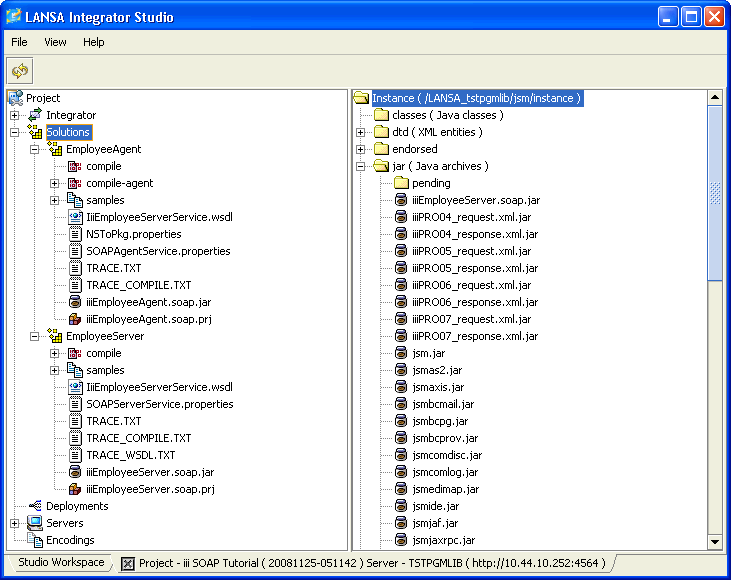
4. Expand the project folder so that you can see the contents of the .
5. Expand the folder.
Some of the files that the LANSA Integrator SOAP Wizard has generated for your Project:
- A jar file containing the compiled classes, ready for you to deploy to the web server.
- A prj (project) file that you will open if you need to use the SOAP Wizard again to revise what you have done.
- A properties file that you will need to deploy to the web server to enable applications to call this web service through your SOAP Agent service.
- Other files containing some sample generated RDML code for an application that uses this web service and trace and log files.