7.19.1 Create a CRL Project
1. From the Project Solutions node select the menu item.
2. Select the tool and enter or select the folder to receive the project file.
3. Enter the project File name. The extension '.crl.prj' is added automatically.
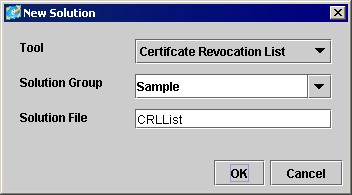
4. Press the OK button to create the project.
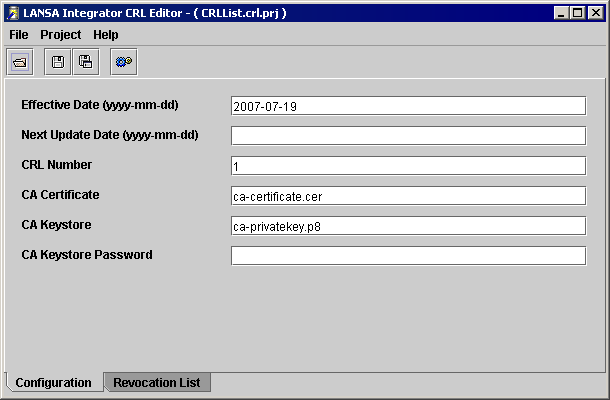
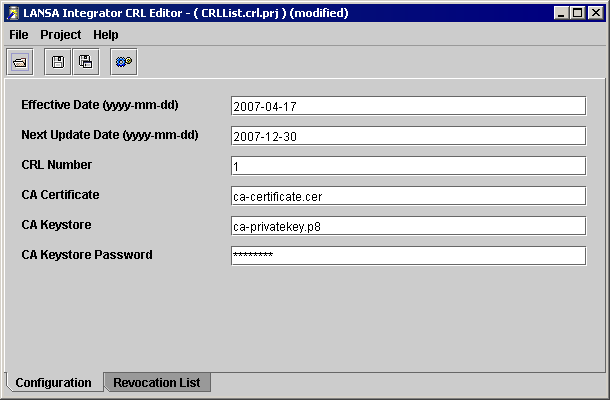
a. Enter the date when the next CRL list will be available.
b. Enter the unique CRL sequence number.
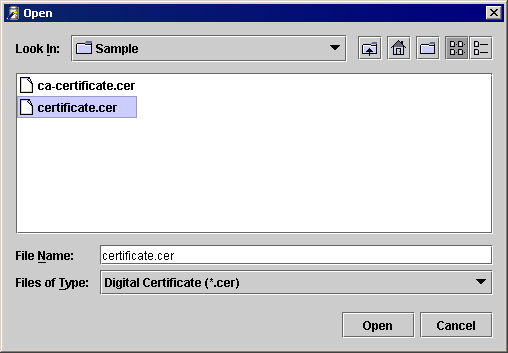
c. Enter the file that contains the CA certificate that signed the certificates that are to be revocated.
d. Enter the file that contains the CA private key, so the CRL file can be signed.
5. Enter the private key password

6. Select the Revocation List tab to maintain the list of certificates.
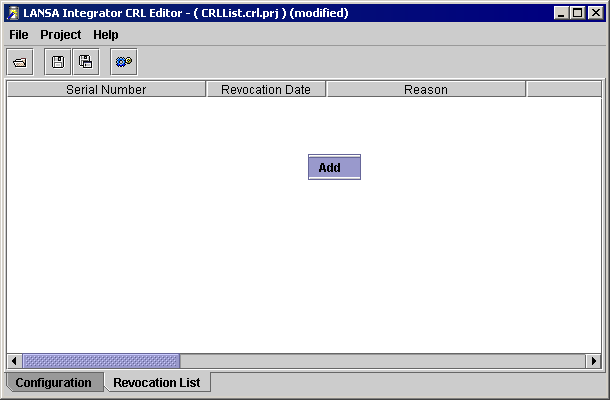
7. Use the Add pop-up menu item to add a certificate to the list.
8. Use the Edit, Add and Delete pop-up menu items to maintain existing entries.
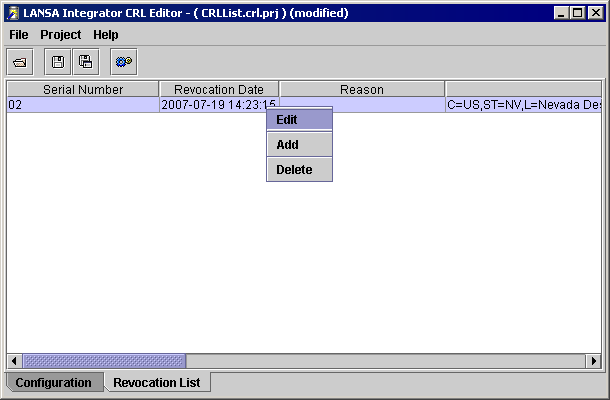
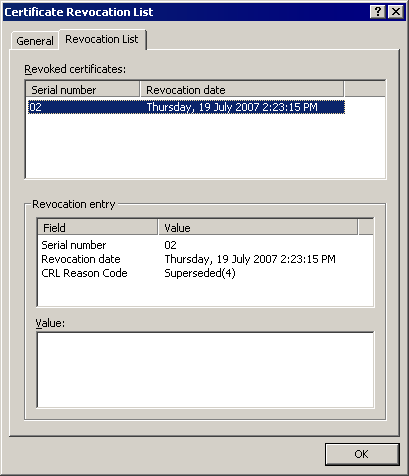
9. Use the Edit pop-up menu item to change the Revocation Date and Reason for revocation.
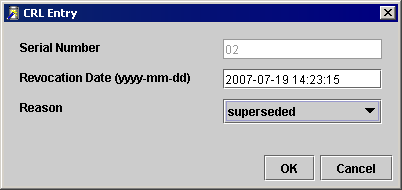
The Serial number, Revocation Date and Reason are the only values stored in the CRL file.
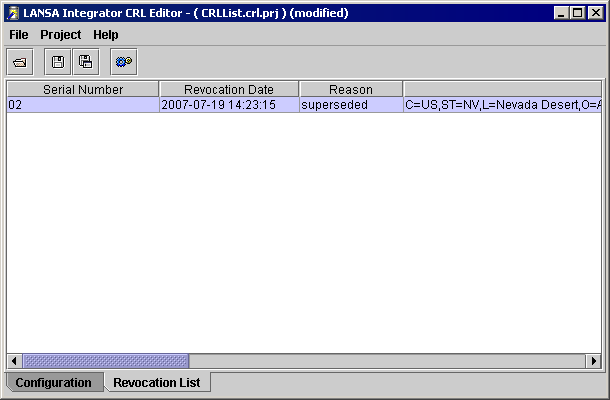
The Name column (fourth column on the right) is only used to identify the entry and is not included in the CRL file.
10.Press the Build button to create the CRL file.
A confirmation message is displayed:
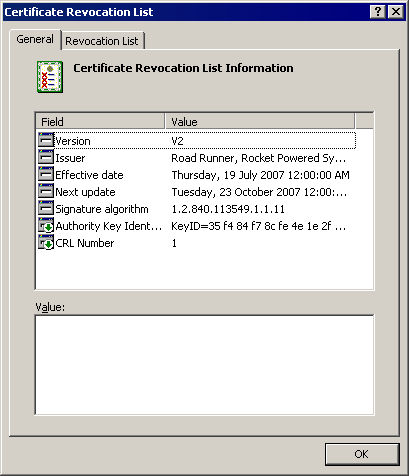
11. Double click or open with associated application the CRL File.
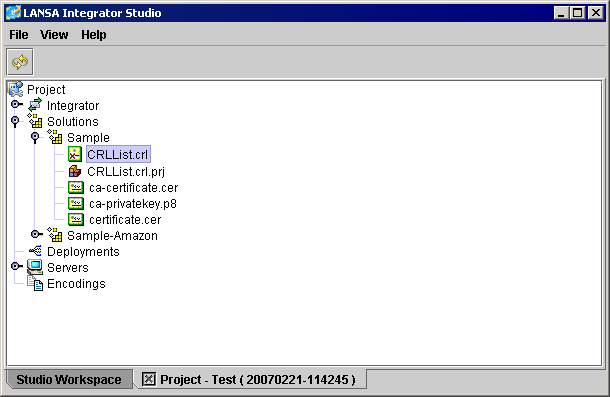
The CRL file can be viewed using Windows CRL application.