Step 2. Check In Files to the Server
VFW130 – Set up the VL Framework for Client/Server Operation
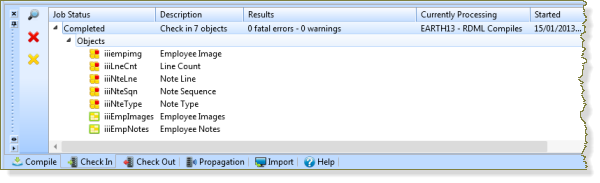
In exercise VDW054 you created two new files:
iiiEmpNotes – Employee Notes
iiiEmpImages – Employee Images
In order to run your iii HR Applications in client/server mode, you must check in and compile your new files. The check in and compile will create physical and logical files and OAM programs.
Since you are using an RDMLX-enabled partition, which is required for these exercises, the compile will produce an RPG OAM program for RDML-enabled functions and components, and a C OAM program for RDMLX-enabled functions and components.
Note that these new tables will not contain data.
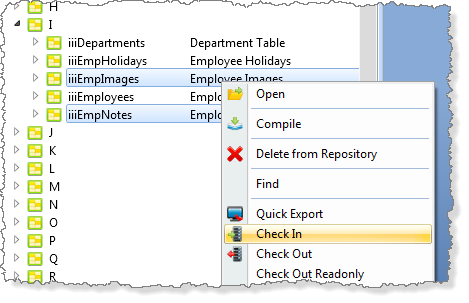
1. On the tab, select files iiiEmpImages and iiiEmpNotes and use the context menu to select :
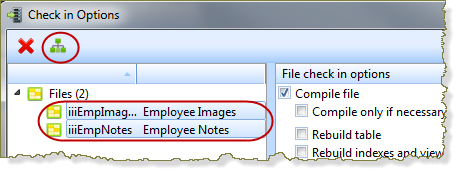
2. In the dialog, expand the Files entry, select both files and click the button:
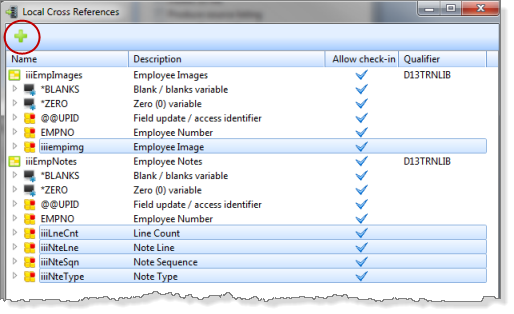
3. Select the new fields (field names beginning iii) and click the button:
4. Close the dialog. Note that the fields have been added to the check in list of objects:
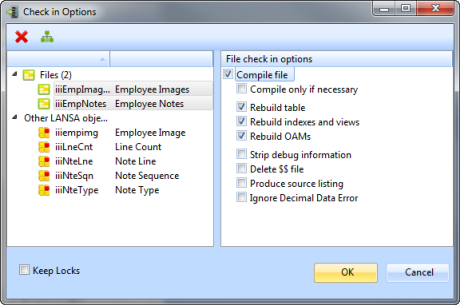
5. Select the check in options to and and click OK to start the check in.
Note: The option will not be required as these are new files.
Usually, whenever you check in and compile a file, this option should be checked to delete the copy file created by the previous check in and compile.
6. Check the tab to confirm your fields and files were checked in successfully.
7. You should now be able to execute your iii HR Application in client/server mode to the IBM i server.