Step 2. Create the Find Employee Image Form
VFW080 – Using an Explorer Component
1. Create a new / :
iiiVFW15
Find Image
2. With the view selected, use the ribbon to add / manager to the form.
3. Drop a Panel onto the right hand side, and change its to IMAGE_PANL. Change its to approximately 125.
4. Drop another Panel onto the centre of the form and change its to SEARCH_PANL.
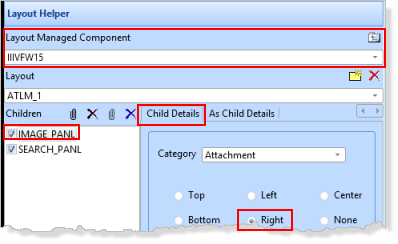
If necessary, with the form selected, open the tab and use the tab to ensure the IMAGE_PANL is attached to the Right. SEARCH_PANL should be attached to the Center.
5. As you are designing, save the component regularly.
6. Select the IMAGE_PANL, and use the ribbon to add a .
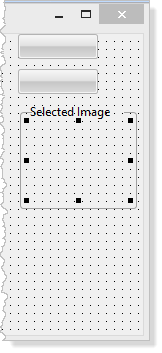
a. Add two to the IMAGE_PANL.
b. Add a and resize it as shown. Give the a of Selected Image.
c. Drop an component into the and resize the to fill the as shown:
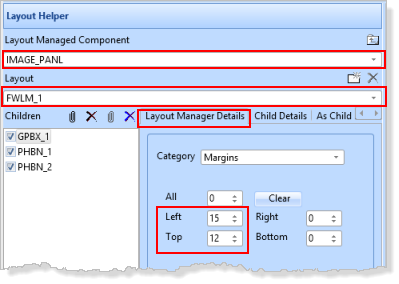
d. Select the IMAGE_PANL. On the tab select tab. Select . Set the margin to 15 and the margin to 12.
7. Set up the :
a. Set up the first push button properties as follows:
|
b. Create a Click event for PHBN_OK.
c. Set up the second Push button as follows:
|
d. Create a Click event for PHBN_CANCL
8. Select the SEARCH_PANL and use the ribbon, to add a manager.
On the tab, select the and select the Raised option.
9. Change the left hand Panel's to FOLDERS.
10. Change the right hand Panel's to FILES.
11. Select the FOLDERS panel. On the tab, add an by selecting ATLM_1 in the drop down.
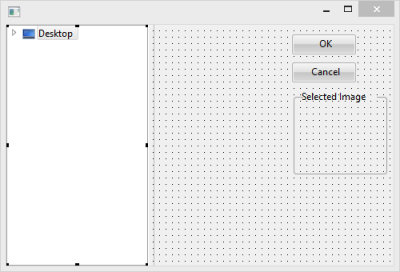
12. On the tab, select and add an component into the center of the FOLDERS panel.
If necessary, use the tab / tab to ensure that it is attached in the Center.
Your design should look like the following:
13. Select the FILES panel and on the tab, give it the ATLM_1 , by selecting it in the .
Drop an component into the center of the FILES panel. With the FILES panel selected, on the tab, use the tab to check the explorer (DCBX_2) is attached in the Center.
14. Save your form design.
15. Select the left hand component (DCBX_1) and use the tab to set up its properties:
|
16. Select the right hand component (DCBX_2) and set its properties:
|
The Explorer DBCX_2 will display the defined file types only.
17. Save your changes.