Step 1 Create Tree View Form
From VLF Windows Application Development
Step 1. Create Tree View Form
VFW060 – Using a Tree View
1. Create a new :
iiiVFW10
Tree View and Details
2. On the tab, select and add a to the form. This component is always attached to the bottom of a form. LANSA messages from the OAM or program Message commands are routed to the status bar.
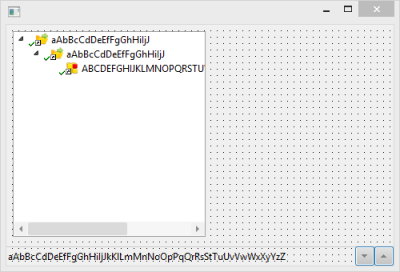
3. Add a to the left hand side of the form and resize it as shown:
4. On the tab, select the DEPTAB file and add field DEPTDESC to the tree view.
Define its property as 1.
5. Select the SECTAB file and add field SECDESC to the tree view. Change its to 1.
6. Find field FULLNAME in the section of and add it to the tree view. Change its to 1.
7. Save your changes.
8. Extend the form's Initialize event routine to populate the tree based on the following pseudo code:
Clear the Tree view
Select all entries from file DEPTAB
Select entries for each department from file SECTAB
- Select entries from logical file PSLMST1 for each department/section
- Set up Fullname from fields Surname and Given Name
Your code should look like the following:
Evtroutine Handling(#com_owner.Initialize)
Set Com(#com_owner) Caption(*component_desc)
Clr_List Named(#TRVW_1)
Select Fields(#deptment #deptdesc) From_File(deptab)
Add_Entry To_List(#TRVW_1)
Select Fields(#section #secdesc) From_File(sectab) With_Key(#deptment)
Add_Entry To_List(#TRVW_1)
Select Fields(#surname #givename) From_File(pslmst1) With_Key(#deptment #section)
#fullname := #surname + ', ' + #givename
Add_Entry To_List(#TRVW_1)
Endselect
Endselect
Endselect
Endroutine
9. Compile and test your form. Your tree view should be populated with all departments, sections and employees.
10. In a later step you will consider how to fill the tree view 'on demand'.