Step 4. Create the Employee Image Command Handler
VFW080 – Using an Explorer Component
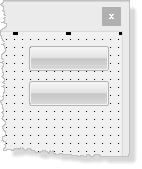
1. Create a new :
iiiVFW16
Employee Image CH
Make the Panel size approximately 350 and 500.
2. Give iiiVFW16 an ancestor of VF_AC010.
3. In the view, from the ribbon, give the form an :
4. Drop a Panel onto the right hand side. And change its to BUTTON_PANEL. Adjust its to allow buttons to be added.
5. Drop a Panel onto the center of the form and change its to IMAGE_PANEL.
6. Select the BUTTON_PANEL and add a manager.
7. Drop two push buttons onto the BUTTON_PANEL.
8. With the BUTTON_PANEL selected, use the tab to set . Use the All settings to position the buttons approximately in the middle of the panel horizontally. The setting required will depend on the of your BUTTON_PANEL. 12 pixels should be about correct.
9. Set up two properties:
|
Property |
Value for the first push button |
Value for the second push button |
|
Name |
PHBN_SAVE | Find |
|
Caption |
Save | PHBN_FIND |
a. Create a Click event for the button.
b. Create a Click event for the button.
10. Save your reusable part.
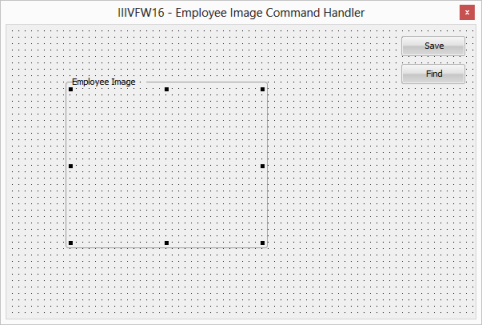
11. Drop a into the center of the IMAGE_PANEL. Resize it and change its to Employee Image.
12. Drop an component into the center of the and resize it to fill the Group Box.
Your design should now look like the following:
13. Save your reusable part.